
Setup Guide
So you’ve got yourself a shiny new steed, now it’s time to turn it into your own personal workhorse—dialing in your ride is the first step. From suspension setup to saddle height, this guide will show you the basics of bike setup.

Setup Guide
So you’ve got yourself a shiny new steed, now it’s time to turn it into your own personal workhorse—dialing in your ride is the first step. From suspension setup to saddle height, this guide will show you the basics of bike setup.
Setup Guide
So you’ve got yourself a shiny new steed, now it’s time to turn it into your own personal workhorse—dialing in your ride is the first step. From suspension setup to saddle height, this guide will show you the basics of bike setup.
Saddle Position
When it comes to bike fit, saddle position is among the most important metrics. Get your saddle position right, and you’ll be greeted with more power and efficiency and less chance of injury. Get it wrong, and, well, you get the idea.
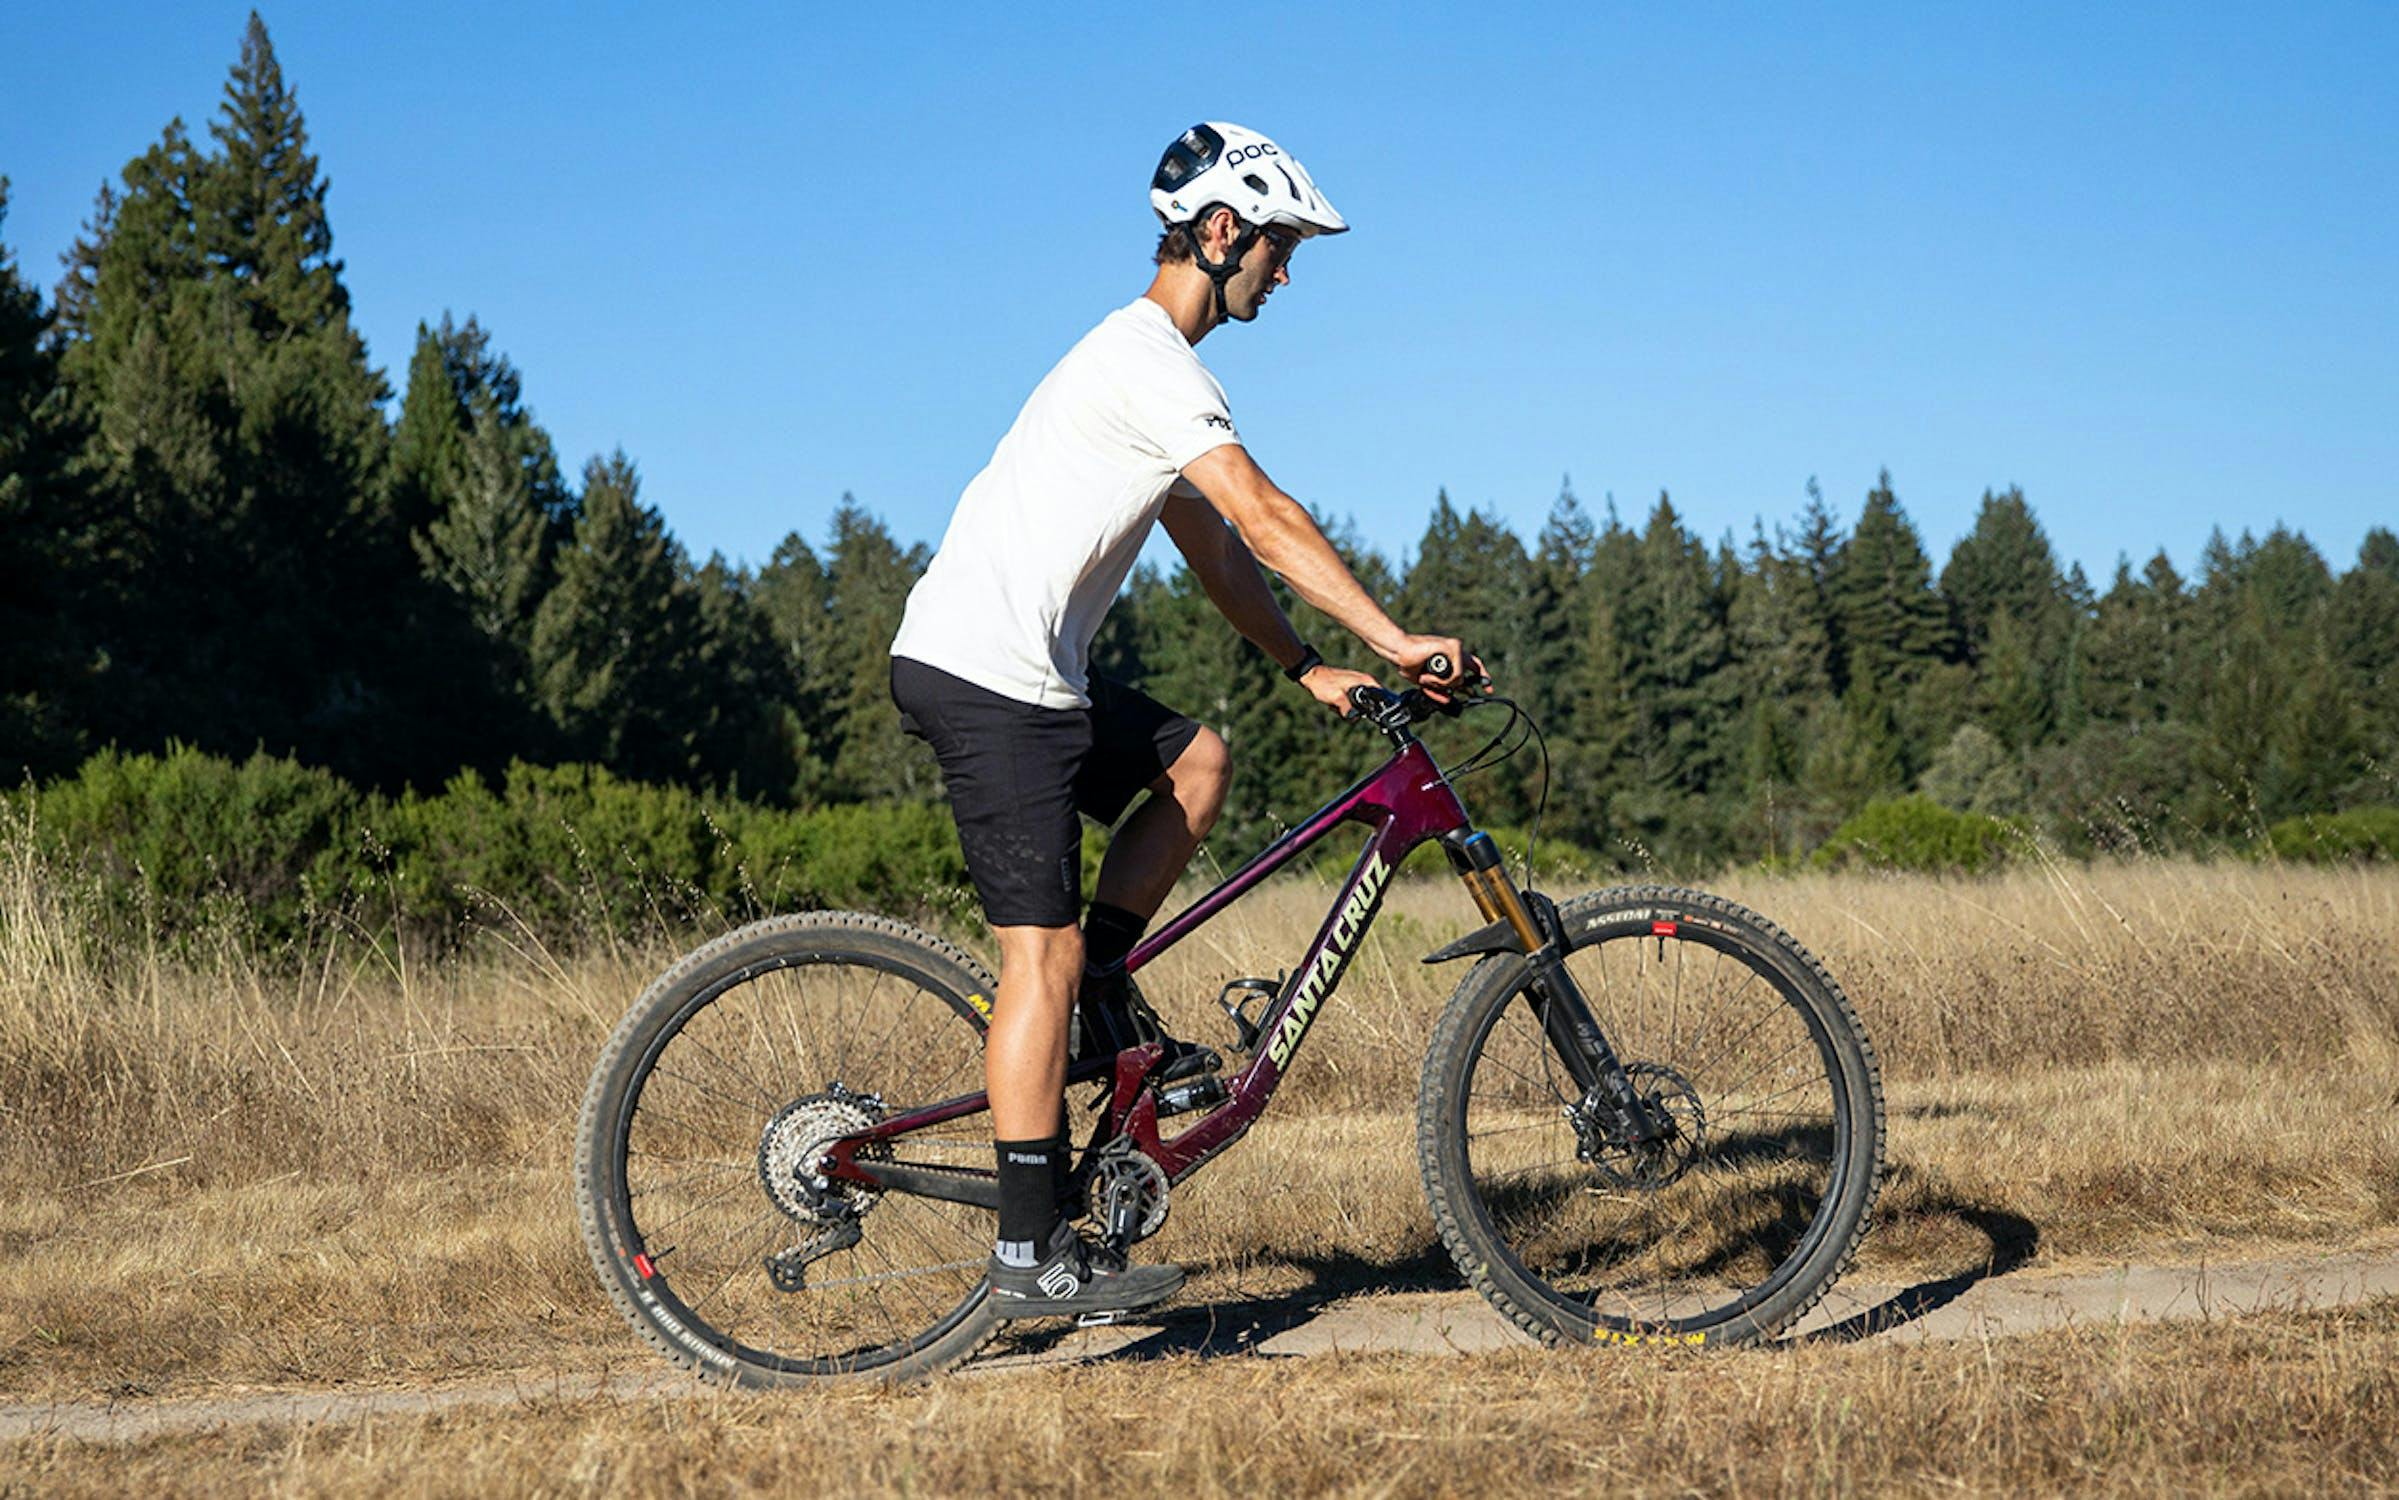
Saddle Height
The good news is there’s a simple way to get a good starting point for saddle position. Start by sitting on your bike with the dropper post fully extended and your riding shoes on. Place one of your heels on the pedal. Your leg should fully extend but shouldn’t require your hip to compensate to reach the pedal—if your hips rock, lower your saddle in one-centimeter increments until it stops. With this method, when you’re clipped in (or have your feet in the correct position on flats), your knee should still have a little bend at the bottom of the pedal stroke—putting you in an efficient, powerful position.
Looking to swap out your dropper post? Make sure it’s the right fit with our Dropper Post Compatibility tool!
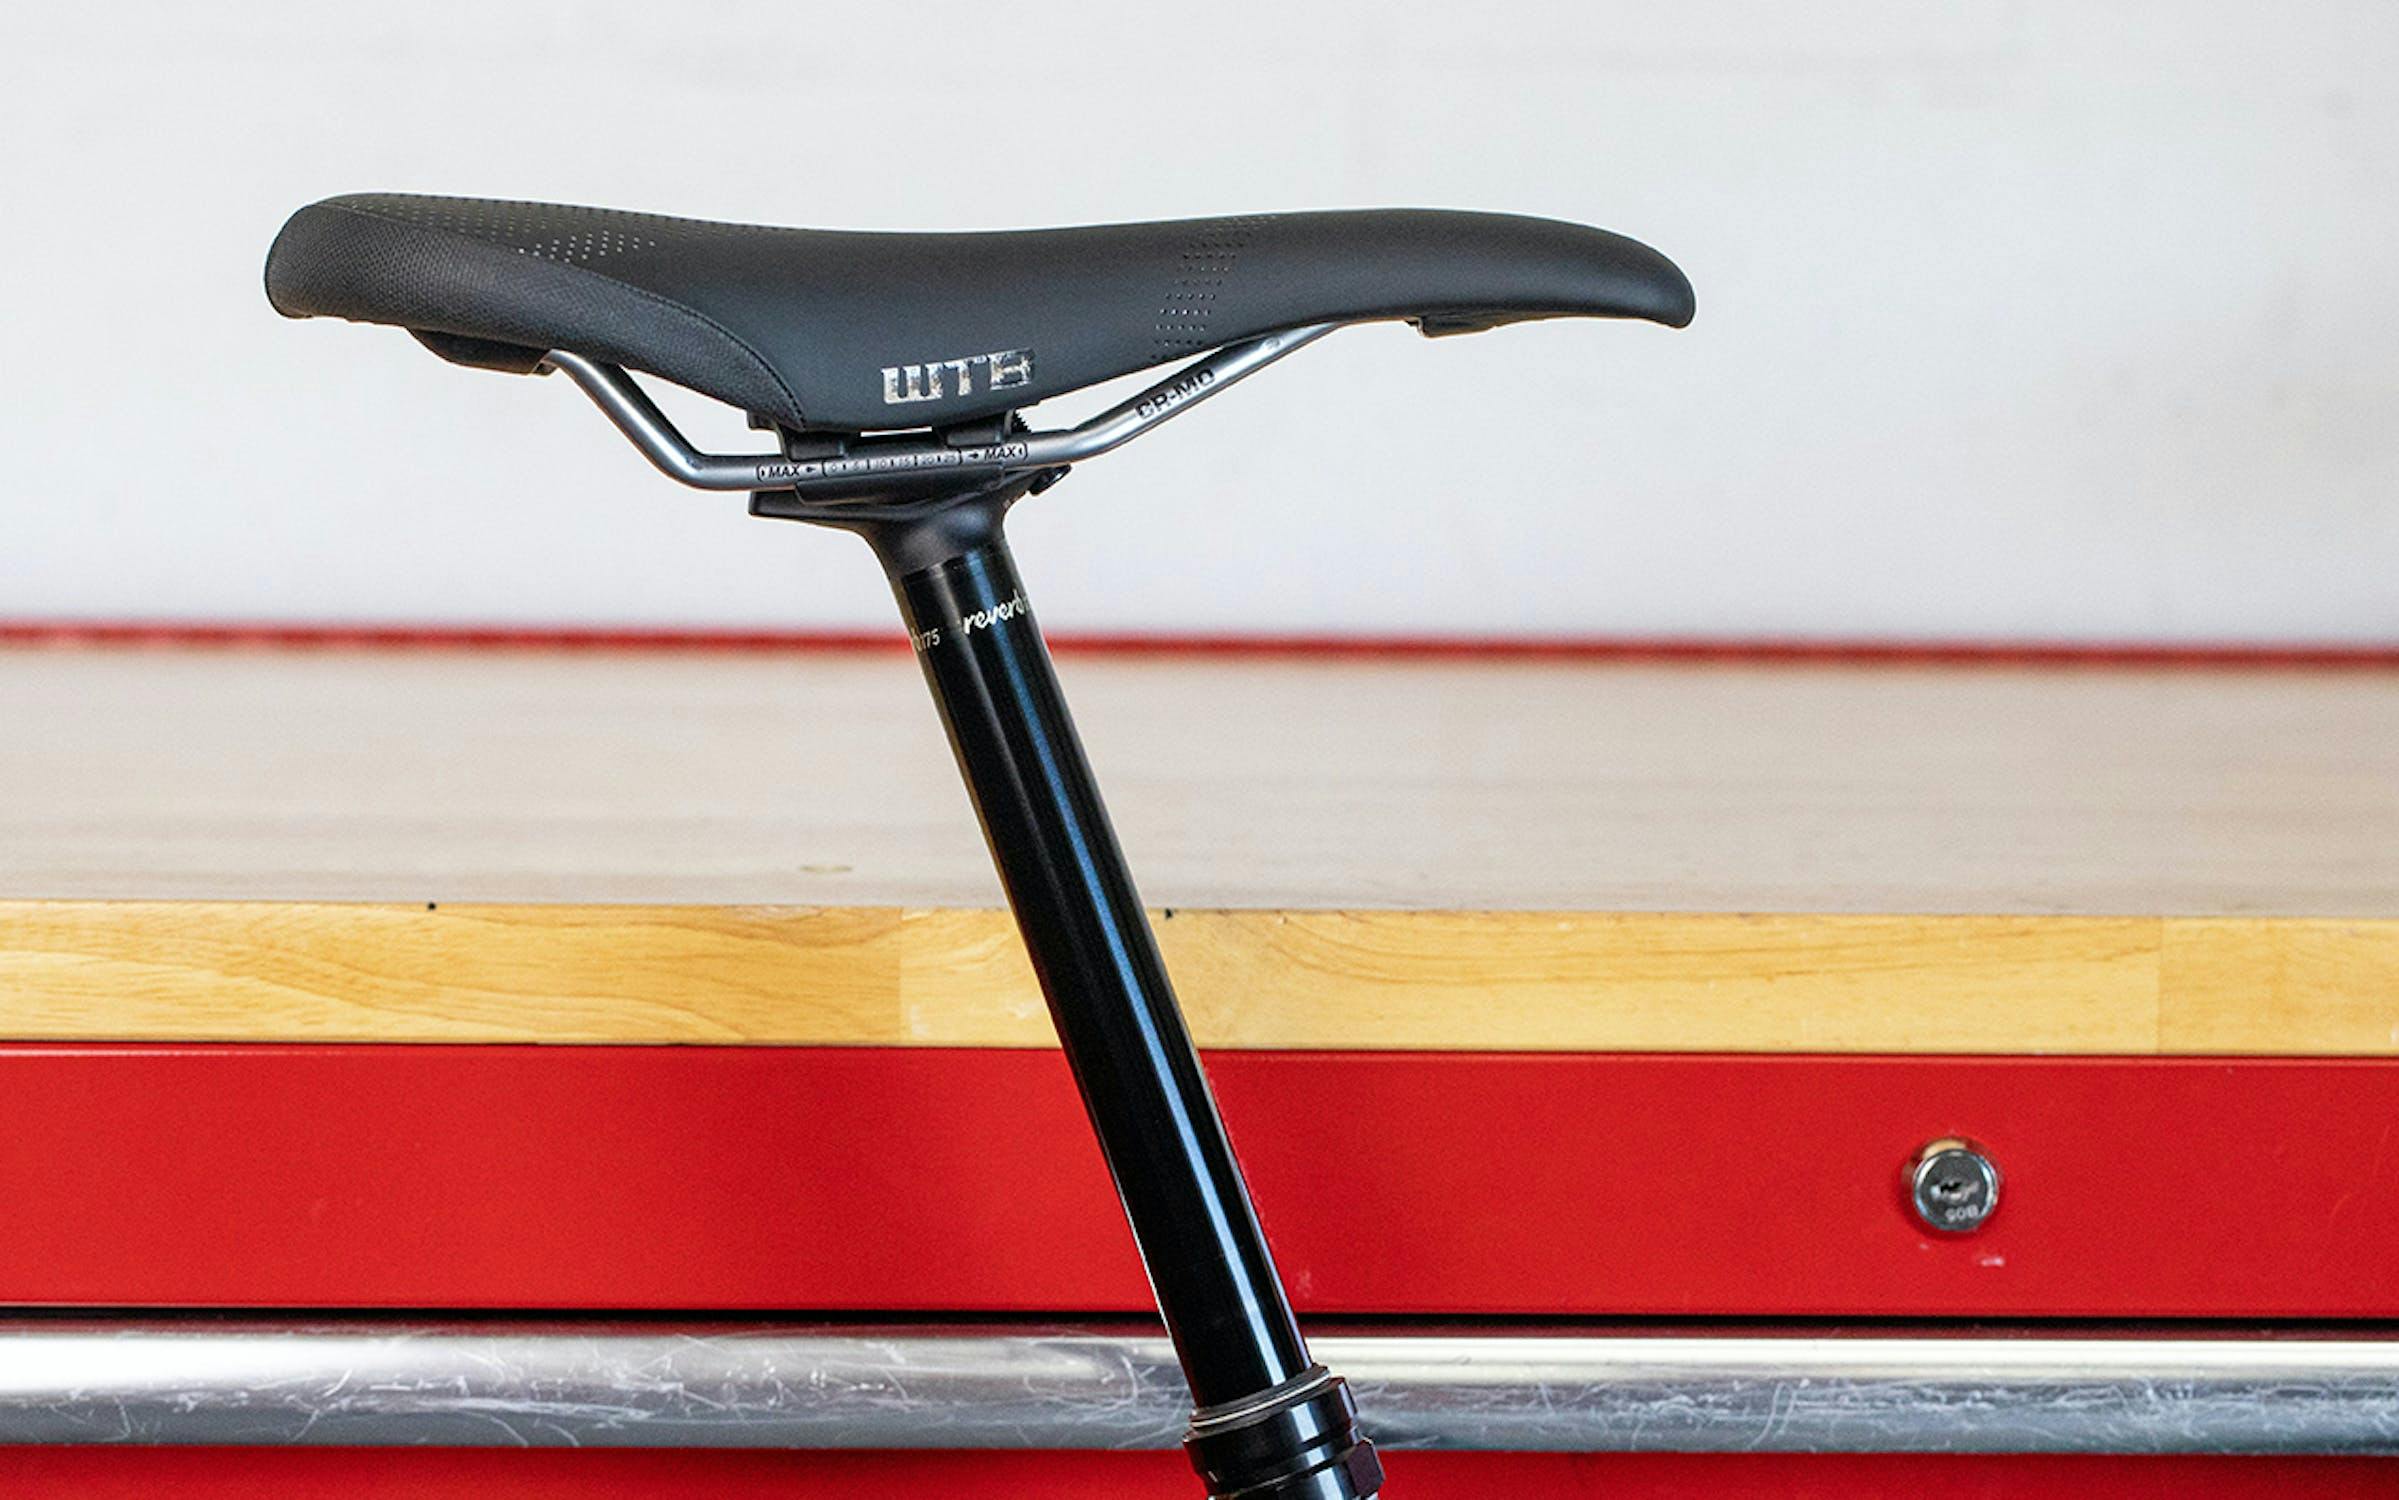
Saddle Setback
Saddle setback and saddle tilt don’t have a rule of thumb that’s as simple as saddle height, but a good starting point is to put your saddle perfectly level, in the middle of its rails, and adjust from there. If you tend to ride very steep trails over more flat ones, you might want to try a more forward and/or more nose-down saddle position. Conversely, you might consider moving your saddle back and/or keeping your saddle level if you ride mostly flat trails. Remember, little adjustments make significant changes, so never adjust more than one centimeter at a time.

Tinker Time
After you’ve got your starting position, it’s time to take your bike for a spin and start tinkering. For height, it’s always better to go slightly too low than too high—so focus on making sure your knee has a bend at full extension–it’s sometimes difficult to tell, but your knee should bend to about a 140-145-degree angle. If your saddle is too high, you'll likely feel pain in the back of your knees, lower back, or hamstrings. If your saddle is too low, you’ll probably get pain in the front of both knees.
Keep tinkering as you settle into your new bike over the first few weeks, but don’t go too crazy. If your knee has a little twinge on a ride after ten pain-free rides, go for another ride to see if the pain persists—there are many other factors at play for minor aches and pains other than saddle position. If you've had knee injuries and/or just can't get comfortable, see if your bike shop can point you towards a qualified bike fitter for help.