Suspension Setup
These days, suspension components often come with a multitude of adjustments. Rebound, compression, air pressure—sometimes it feels like you need an engineering degree to decipher it all, but it’s really not that complicated. And once you figure out the best settings for your style, you’ll be greeted with more grip, speed, and fun.
The best place to start is to use our Suspension Calculator and get your baseline settings for your specific bike.
Step 1: Set Shock Sag

Sag is the most important thing to nail when it comes to suspension—get your sag right and you’ll be 90% of the way there. All of our bikes come with a recommended pressure fine-tuned by our engineers that correlates to a sag range, that’s a great starting point. For example, if you ride a Hightower and weigh 180lbs, your recommended starting pressure is 220psi—which equates to a sag range of 28-30%, or 15-17mm of your rear shock’s 55mm stroke.
HOW-TO
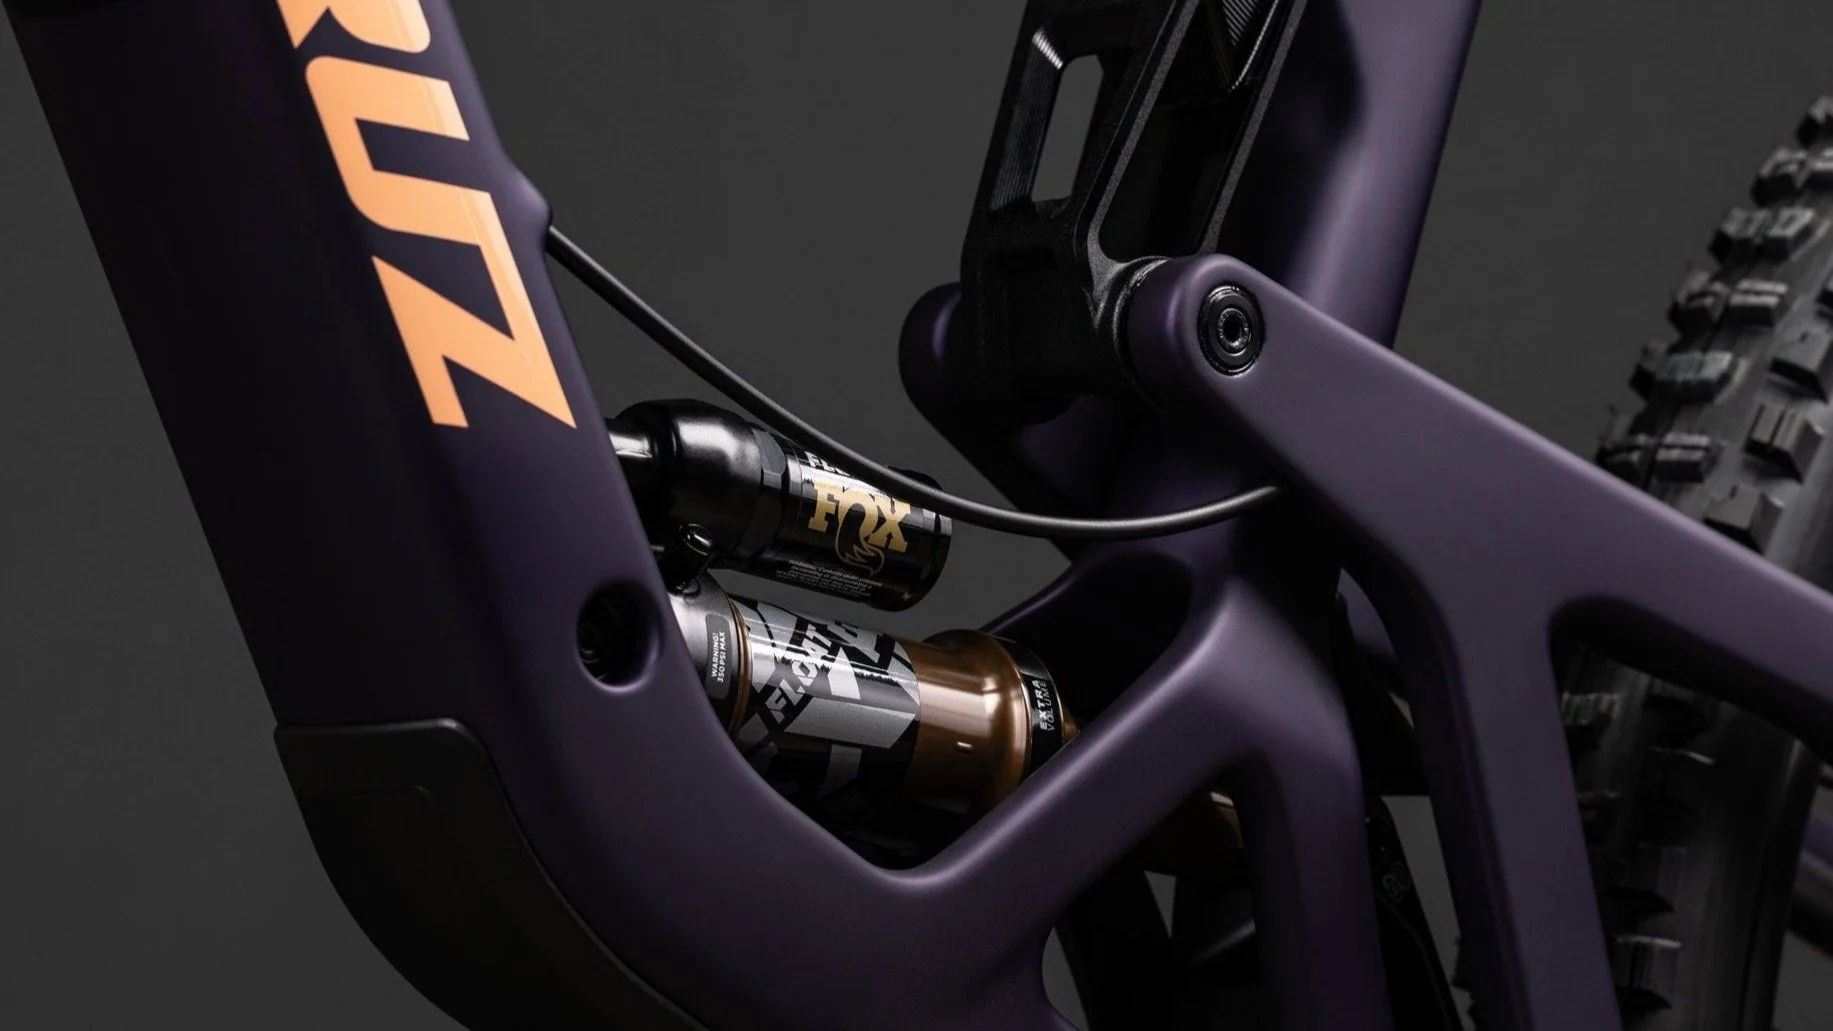
1. You know that little rubber band-looking thing on the shaft of your rear shock? It’s an o-ring, and it's used to measure your sag. So grab a ruler and we can get started.
2. Make sure you’re dressed in your riding kit and gear—sag is very sensitive to weight, so if you normally wear a pack filled with water, strap that on along with your helmet and riding shoes before you jump on your bike. Also, put any items you carry in/on your bike in place as well–this includes water bottles, and items in your Glovebox internal storage compartment. Ensure both your fork and shock lockouts levers are set to fully open, and position yourself next to a wall, or something that you can lightly lean against.
3. Mount your bike and assume a balanced, descending position—don’t over exaggerate it, but stand up like you’re about to fly down your favorite descent. Bounce up and down a few times without holding your brakes to get your suspension to settle. Then, slowly and carefully reach down and push that o-ring up against the body of your shock, still with your fingers off the brakes. Next, carefully get off your bike without bouncing—you can use your brakes now if you need to. Once you’re off the bike, measure the distance between the o-ring and the seal of your shock and divide that number by your stroke length to get the percentage, which is your amount of sag. Once again with the Hightower example, if that distance measures 16mm and the stroke is 55mm, it's 16/55=.29, or 29% sag.
4. If your actual number is different than your target number, increase or decrease your air pressure and redo the sag measurement procedure until you get it in range.
Step 2: Set Fork Sag

It’s the same for the front end as it is for the rear, you just use the o-ring on your fork stanchion and follow the above instructions. Again, numbers are fork-dependant, so refer to the recommendations by your fork manufacturer as a starting point, and dial-in from there. Note that some forks and rear shocks have markings on the stanchions to indicate sag travel–while these can be helpful, it's always a good idea to double-check and verify with a ruler as travel on some suspension components can be changed and it may no longer correlate to these markings.
Step 3: Damping Adjustment

There are at least additional two levers or knobs on the suspension components that come on our bikes—one for rebound, and one for compressions. Some high-end suspension components have four adjustments—two for high/low speed rebound (HSR/LSR) and two for high/low speed compression (HSC/LSC).
When we talk about speed as it relates to suspension, it's not about the speed the bike is going, rather it's the speed the suspension is moving. Low-speed impacts come from rolling terrain and our body-weight moving around on the bike. High-speed impacts come from square-edged things like rocks and roots.
These adjustments are like a sink faucet, where turning the dial clockwise closes the faucet and makes it harder for fluid to flow. Likewise, turning the dial counter-clockwise opens the faucet and allows fluid to flow more easily. Note: when making adjustments, always start with your lever or knob in the “closed” position.
Rebound - Rebound damping adjustments control how quickly your spring returns to it’s original sag position. Our engineers recommend values for rebound damping based upon spring rate, which can be found in the Shock Setup section for your bike. For example, if you weigh 170-180 lbs. (77-81 kg.) and ride a Hightower XO1 build, you’ll want six clicks of LSR and five clicks of HSR on your FOX 36 fork and four clicks of LSR on your Rockshox Super Deluxe Ultimate.
The tinkerers among us may want to play with other settings based on terrain, skill, or personal preference though. For example, if you feel like your bike is skipping off rocks or bouncing down the trail, you should slow your rebound (clockwise turn). If the suspension is packing—feels harsh and it's not returning fast enough—you should speed up your rebound (counter-clockwise turn).
Compression - Compression damping adjustments control how compliant (squishy) your suspension feels. Unlike rebound damping, compression damping adjustments are more dependent on your riding style, terrain, and personal preference. Our engineers recommend starting with small amounts of compression damping and then adding more based on terrain or riding preference.
As a place to start, again if you weigh 170-180 lbs. (77-81 kg.) and ride a Hightower XO1 build, you’ll want ten clicks of LSC and five clicks of HSC on your FOX 36 fork and your Rockshox Super Deluxe Ultimate smack dab in the middle at three clicks. Again if you feel like you're losing traction or chattering in braking bumps, you should decrease your compression damping. If your bike feels too soft and you’re bottoming out often, you should increase your compression damping.
TERMS OF THE TRADE
Sag
Sag is the amount suspension travel used with just the rider's weight on the bike. With an air shock, it's adjusted by increasing or decreasing air pressure. If you're running a coil shock or fork, it's adjusted by changing out the spring itself for one with the correct spring rate, which is measured in pounds.
Shock stroke
For a rear shock, Shock Stroke measures how much total travel in millimeters that your shock has–which is different than how much travel your bike has. While a Hightower, for example, has 145mm of rear travel, the shock only has 55mm of stroke. Knowing how much stroke your shock has is important because it will let you translate a percent of recommended sag to an actual number you can measure. Shocks are measured by total length (eye-to-eye) and stroke (travel on the shock). Sticking with the Hightower example, it features a 210 x 55 shock—55mm of stroke and 210mm of total length.
Damping
All suspension (forks and rear shocks) has two basic components, a spring and a damper. Damping is what controls your suspension by adjusting how oil moves through the valves inside of your suspension. The damper is what keeps the spring, whether air or coil, from sending us over the bars every time the suspension rebounds from an impact. Further, it also controls the way it compresses during impacts—faster = less damping, slower = more damping. Compression damping controls how fast the suspension can compress, or essentially, how quickly it can respond to an impact, while rebound controls how quickly your suspension recovers from an impact.