


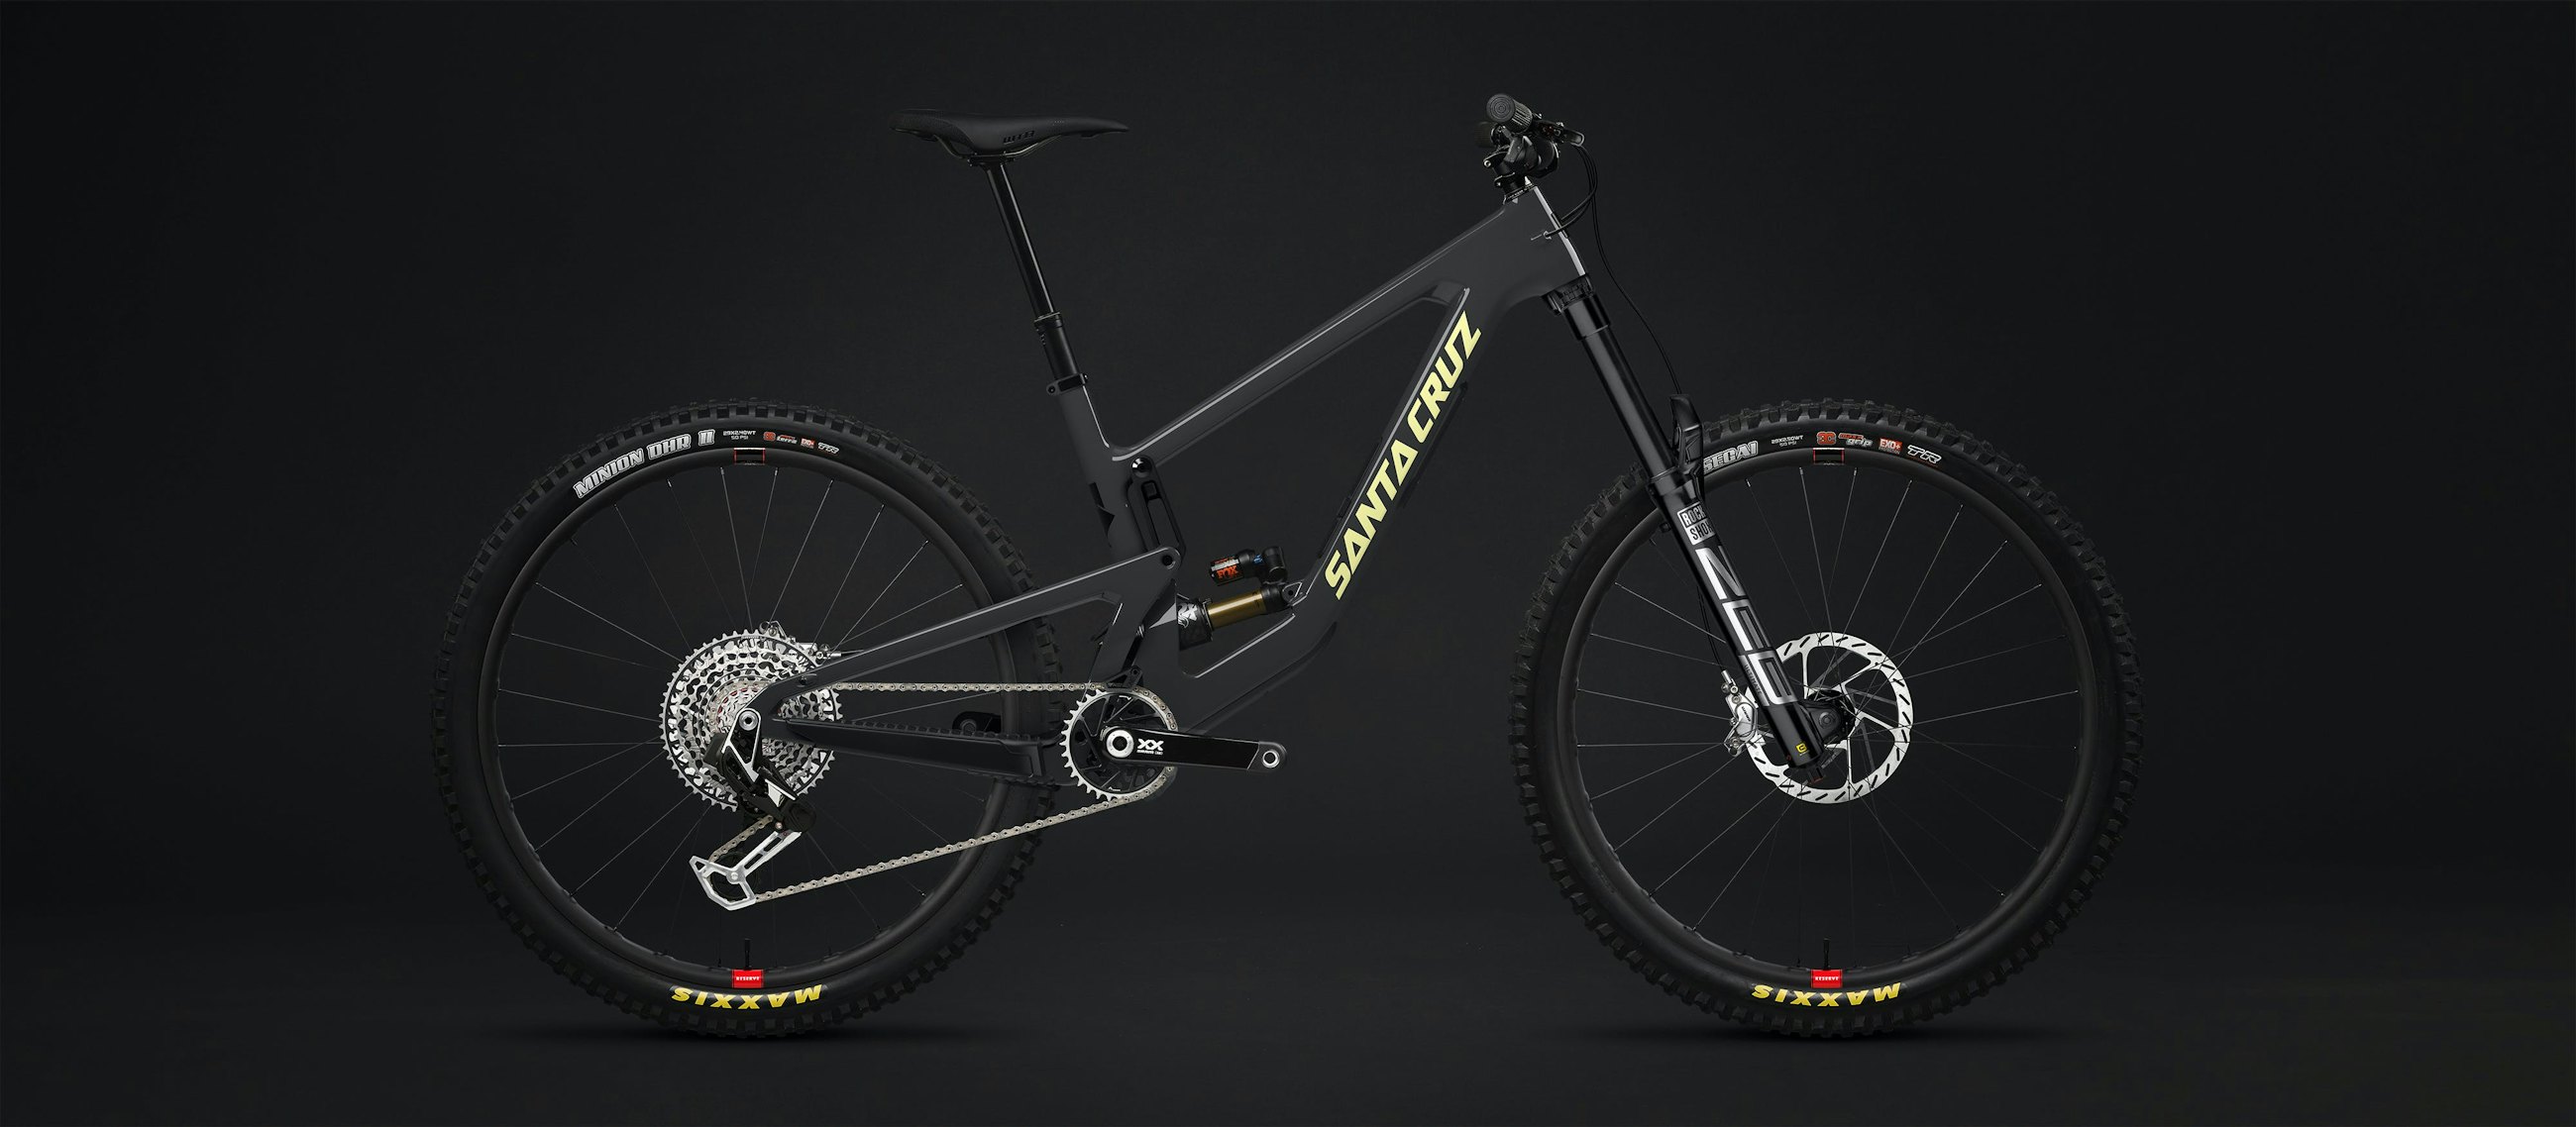
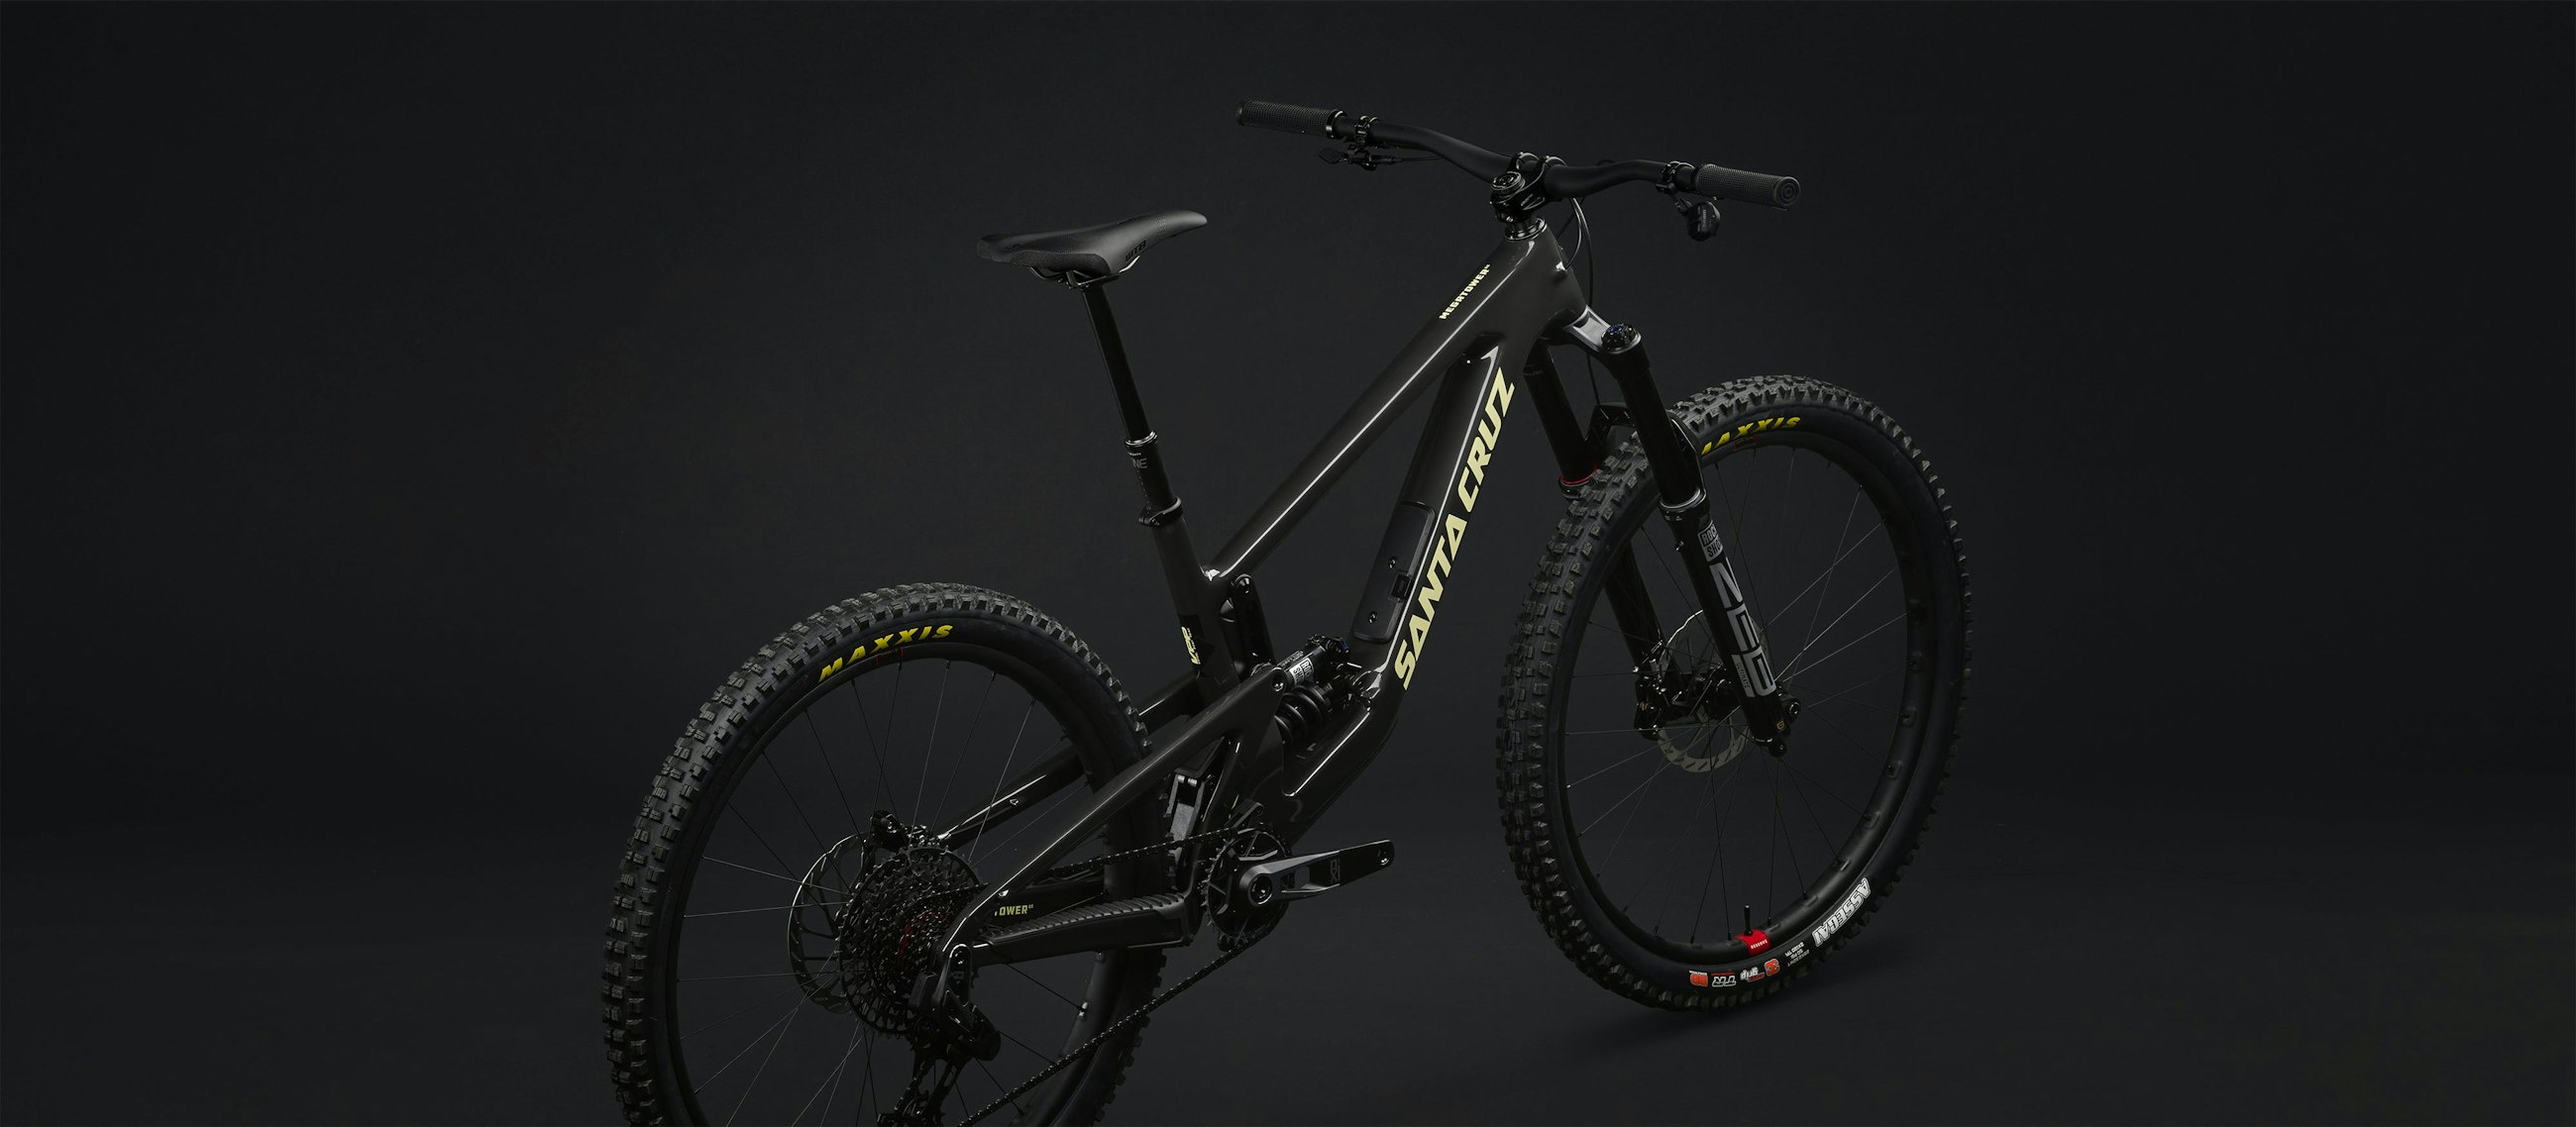
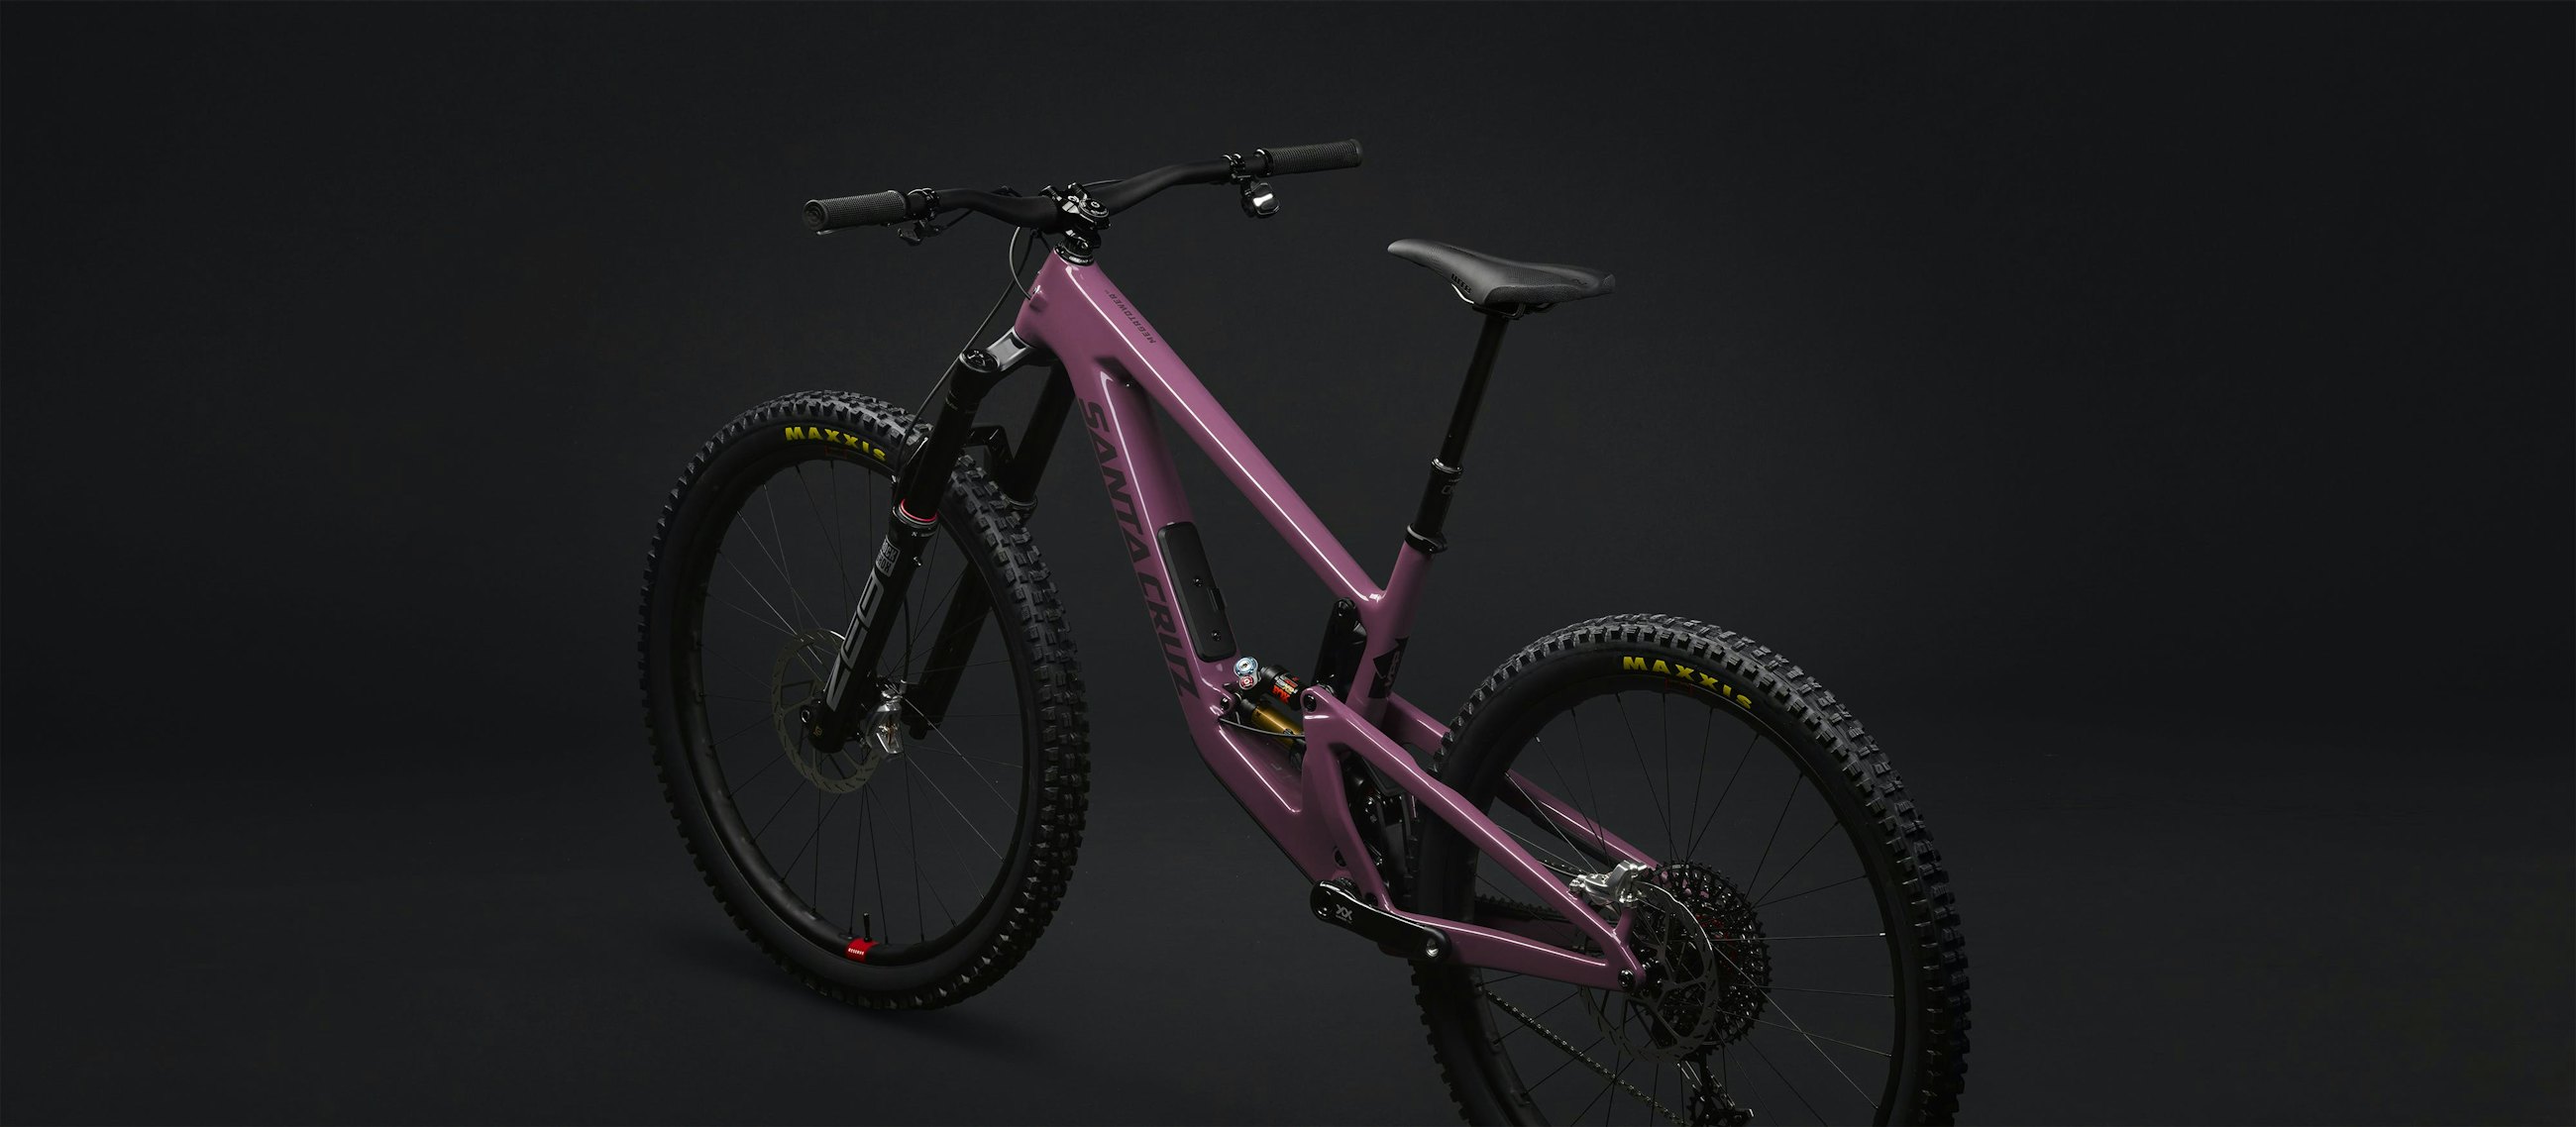

LA RACE BIKE DA ENDURO PER ECCELLENZA
È innegabile. Il diametro delle ruote, la lunga escursione ed il robusto telaio in fibra di carbonio della Megatower corrispondono a quanto di meglio si voglia chiedere ad una mountain bike pensata per le gare. Tuttavia, l'angolo di sella relativamente ripido e le geometrie proporzionali alla taglia una elevata capacità di pedalata della Mega, elevando la sua reputazione di scelta perfetta per le gare enduro e giri aggressivi in bike park.
Disponibile in: Carbon C & Carbon CC
Diametro ruote: MX
Escursione anteriore: 170mm
Escursione posteriore: 165mm
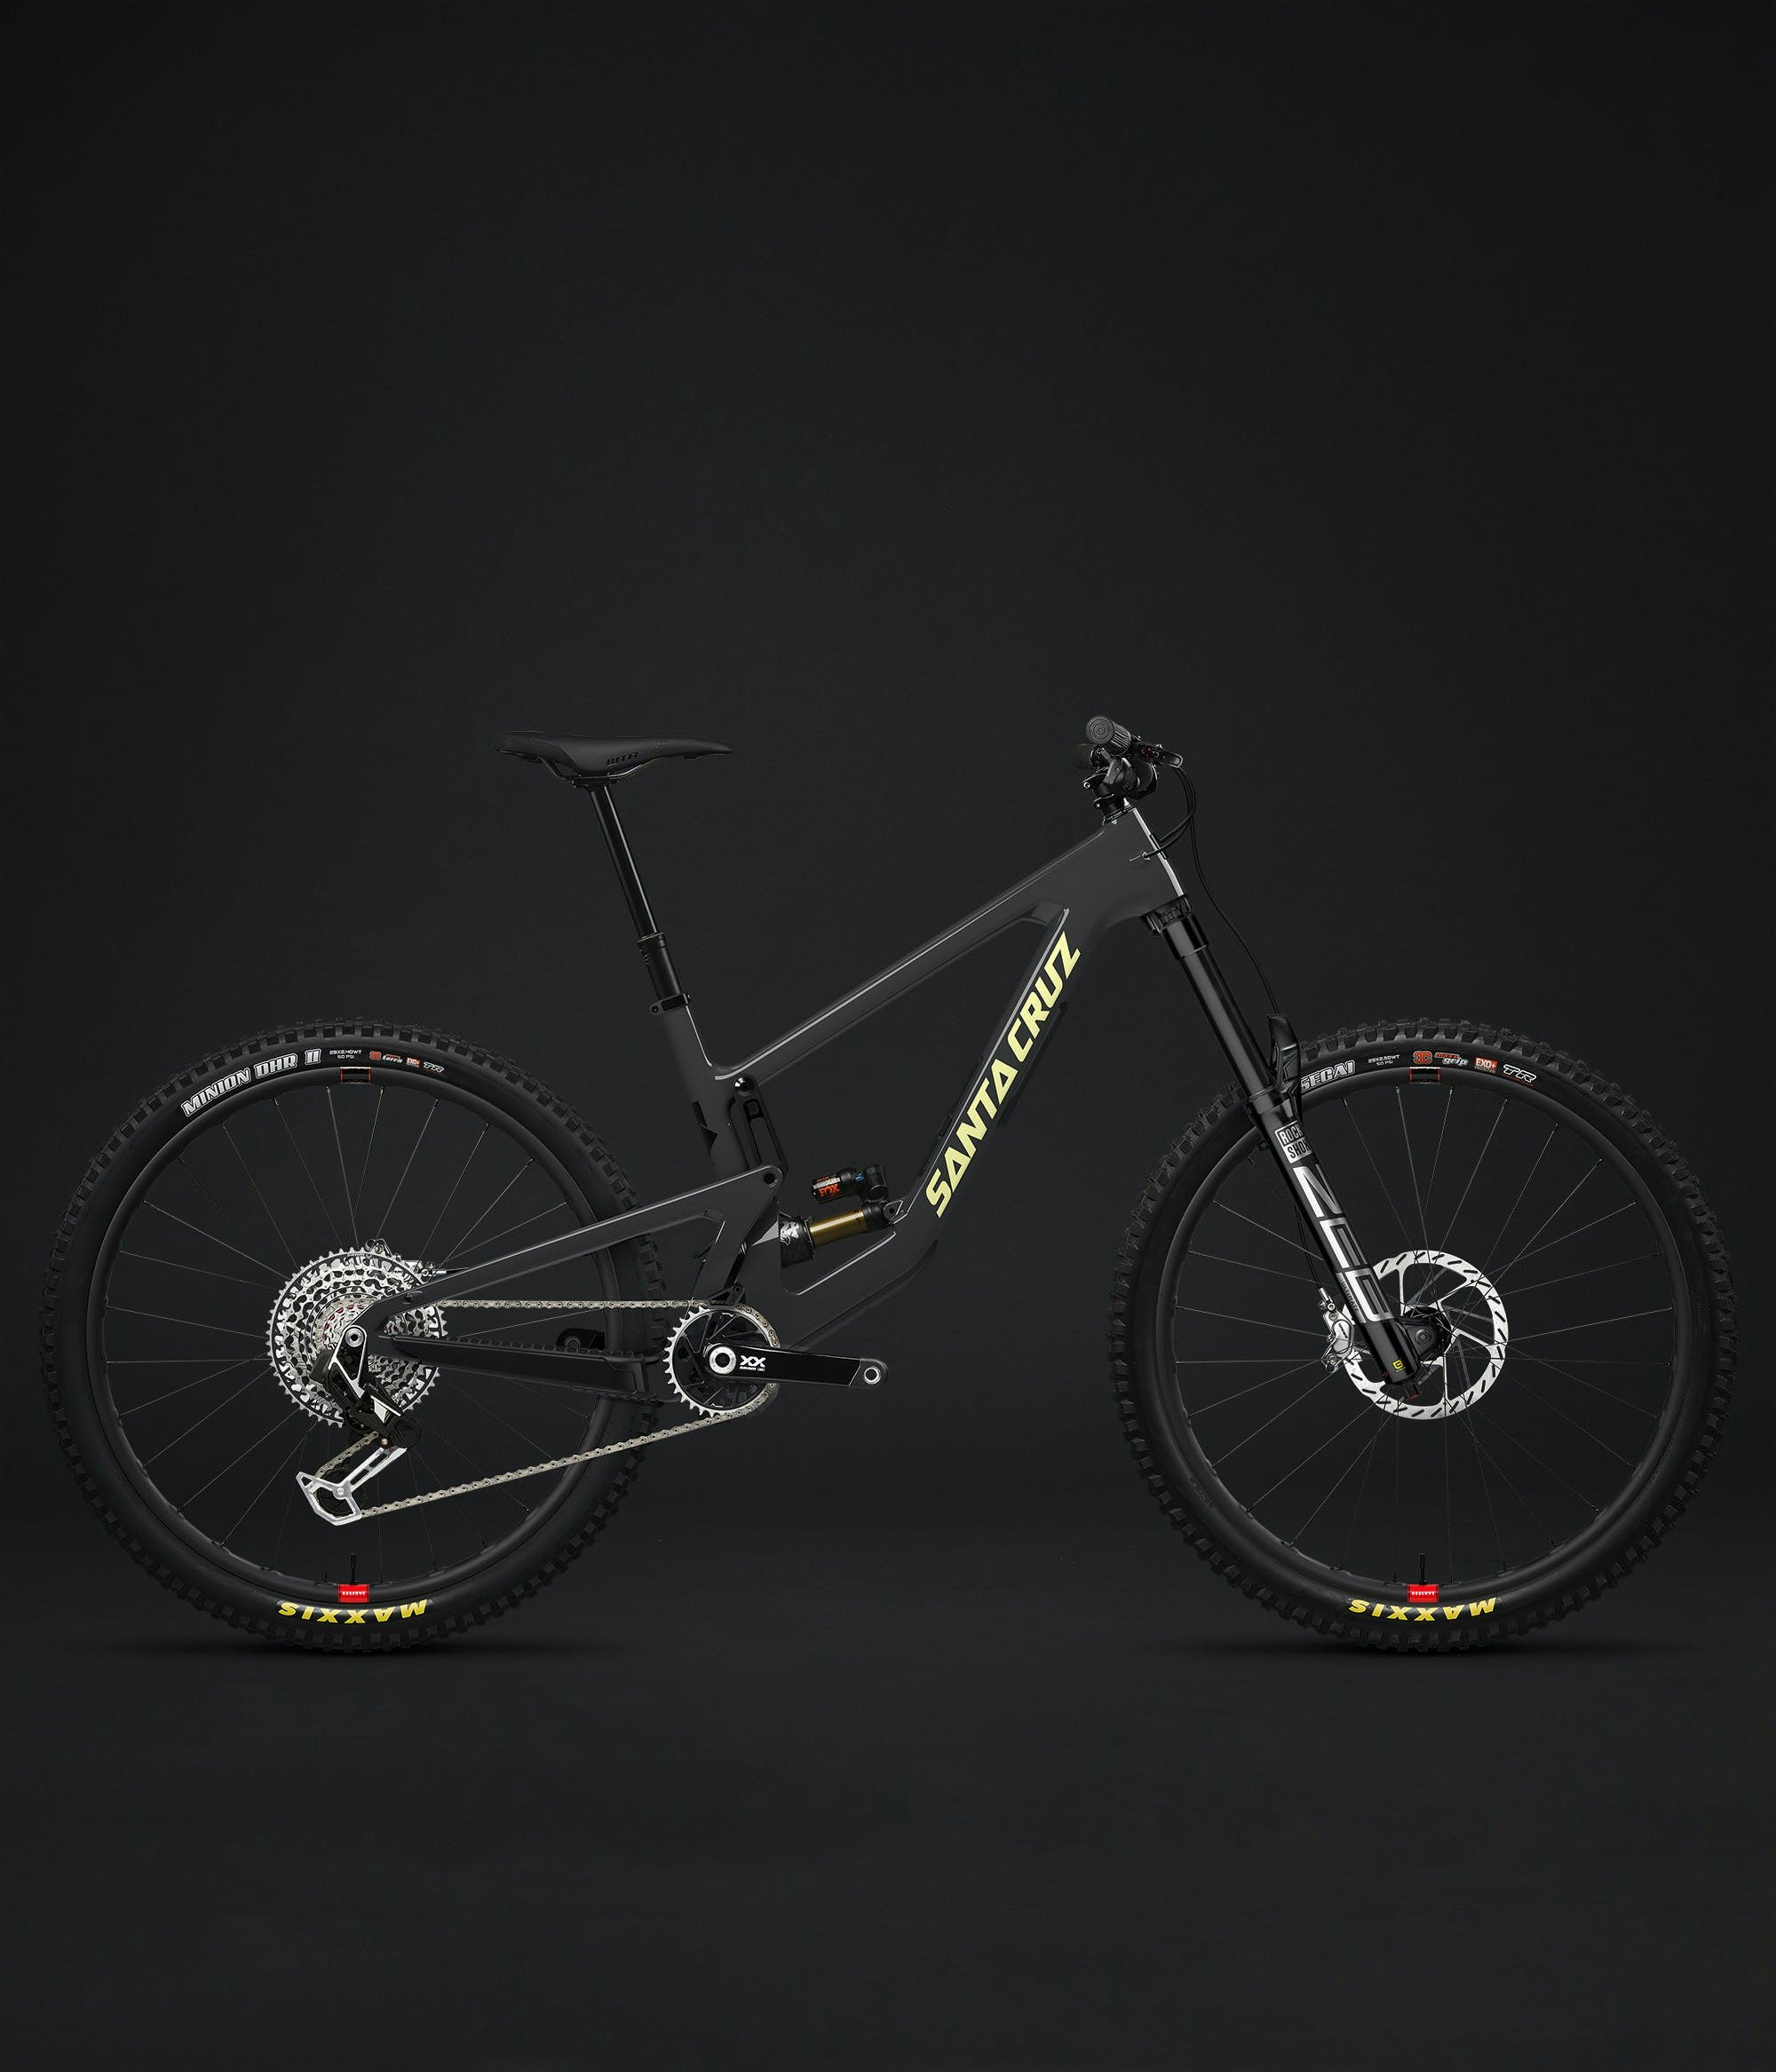
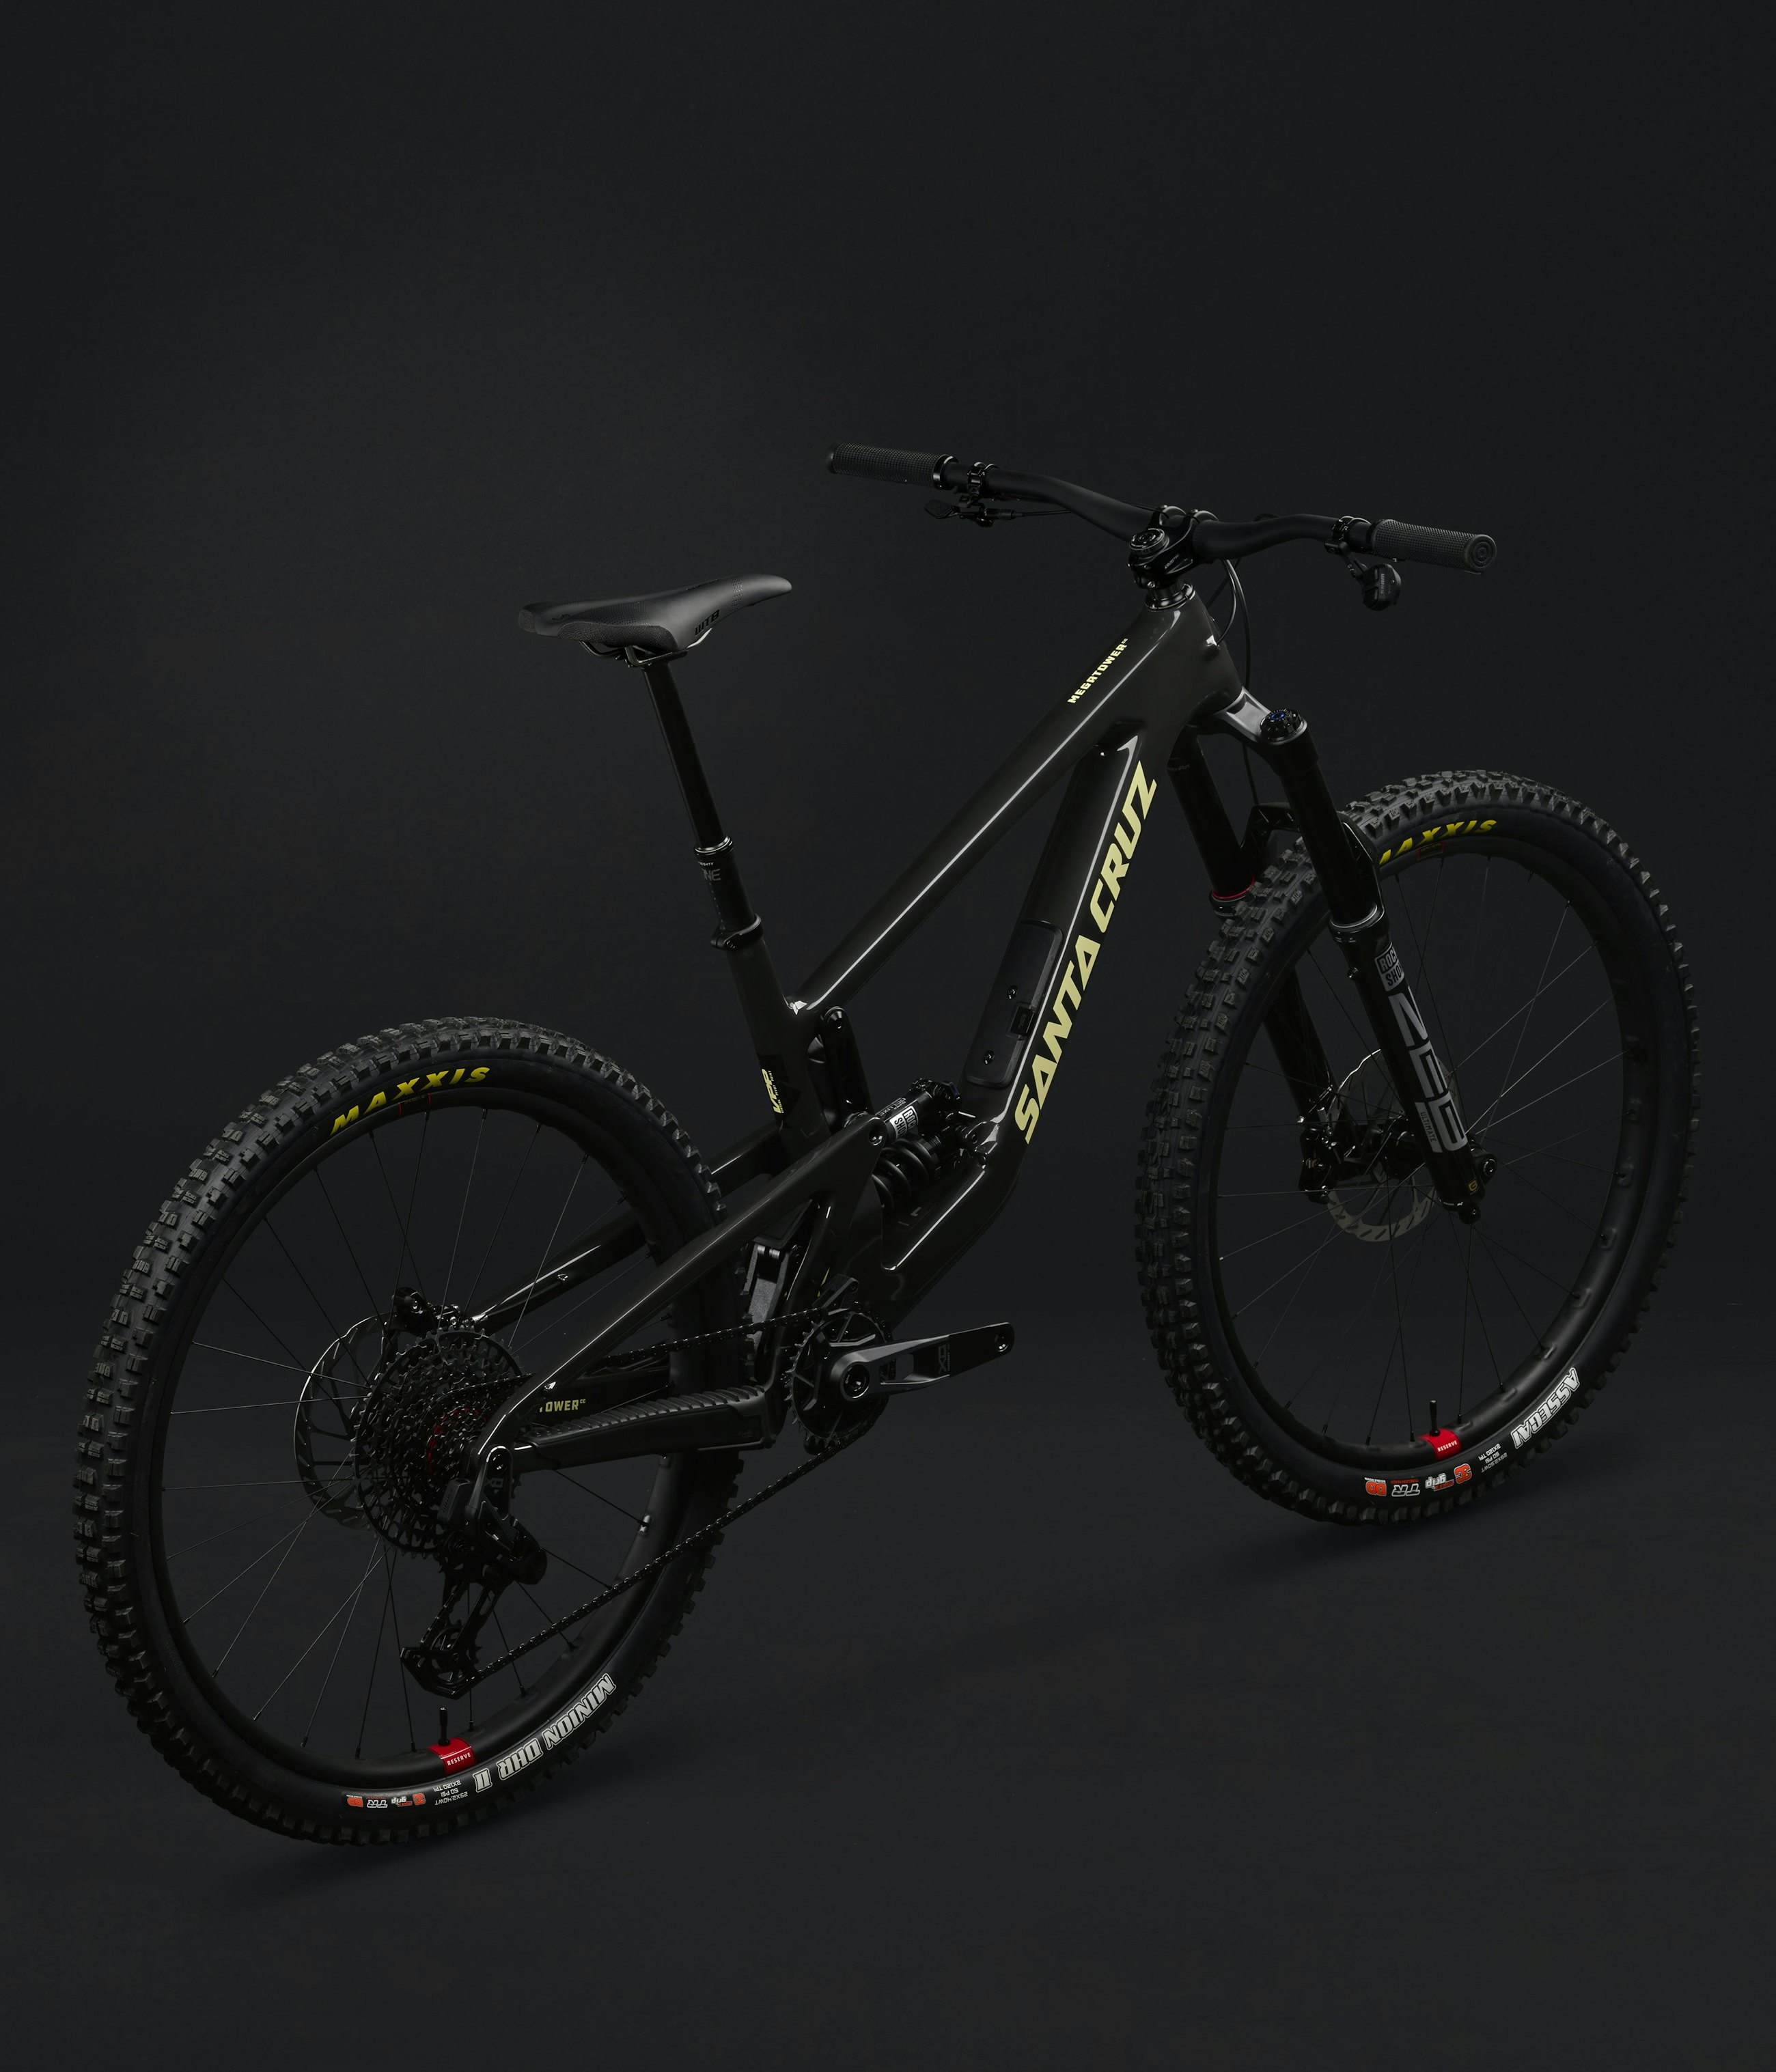
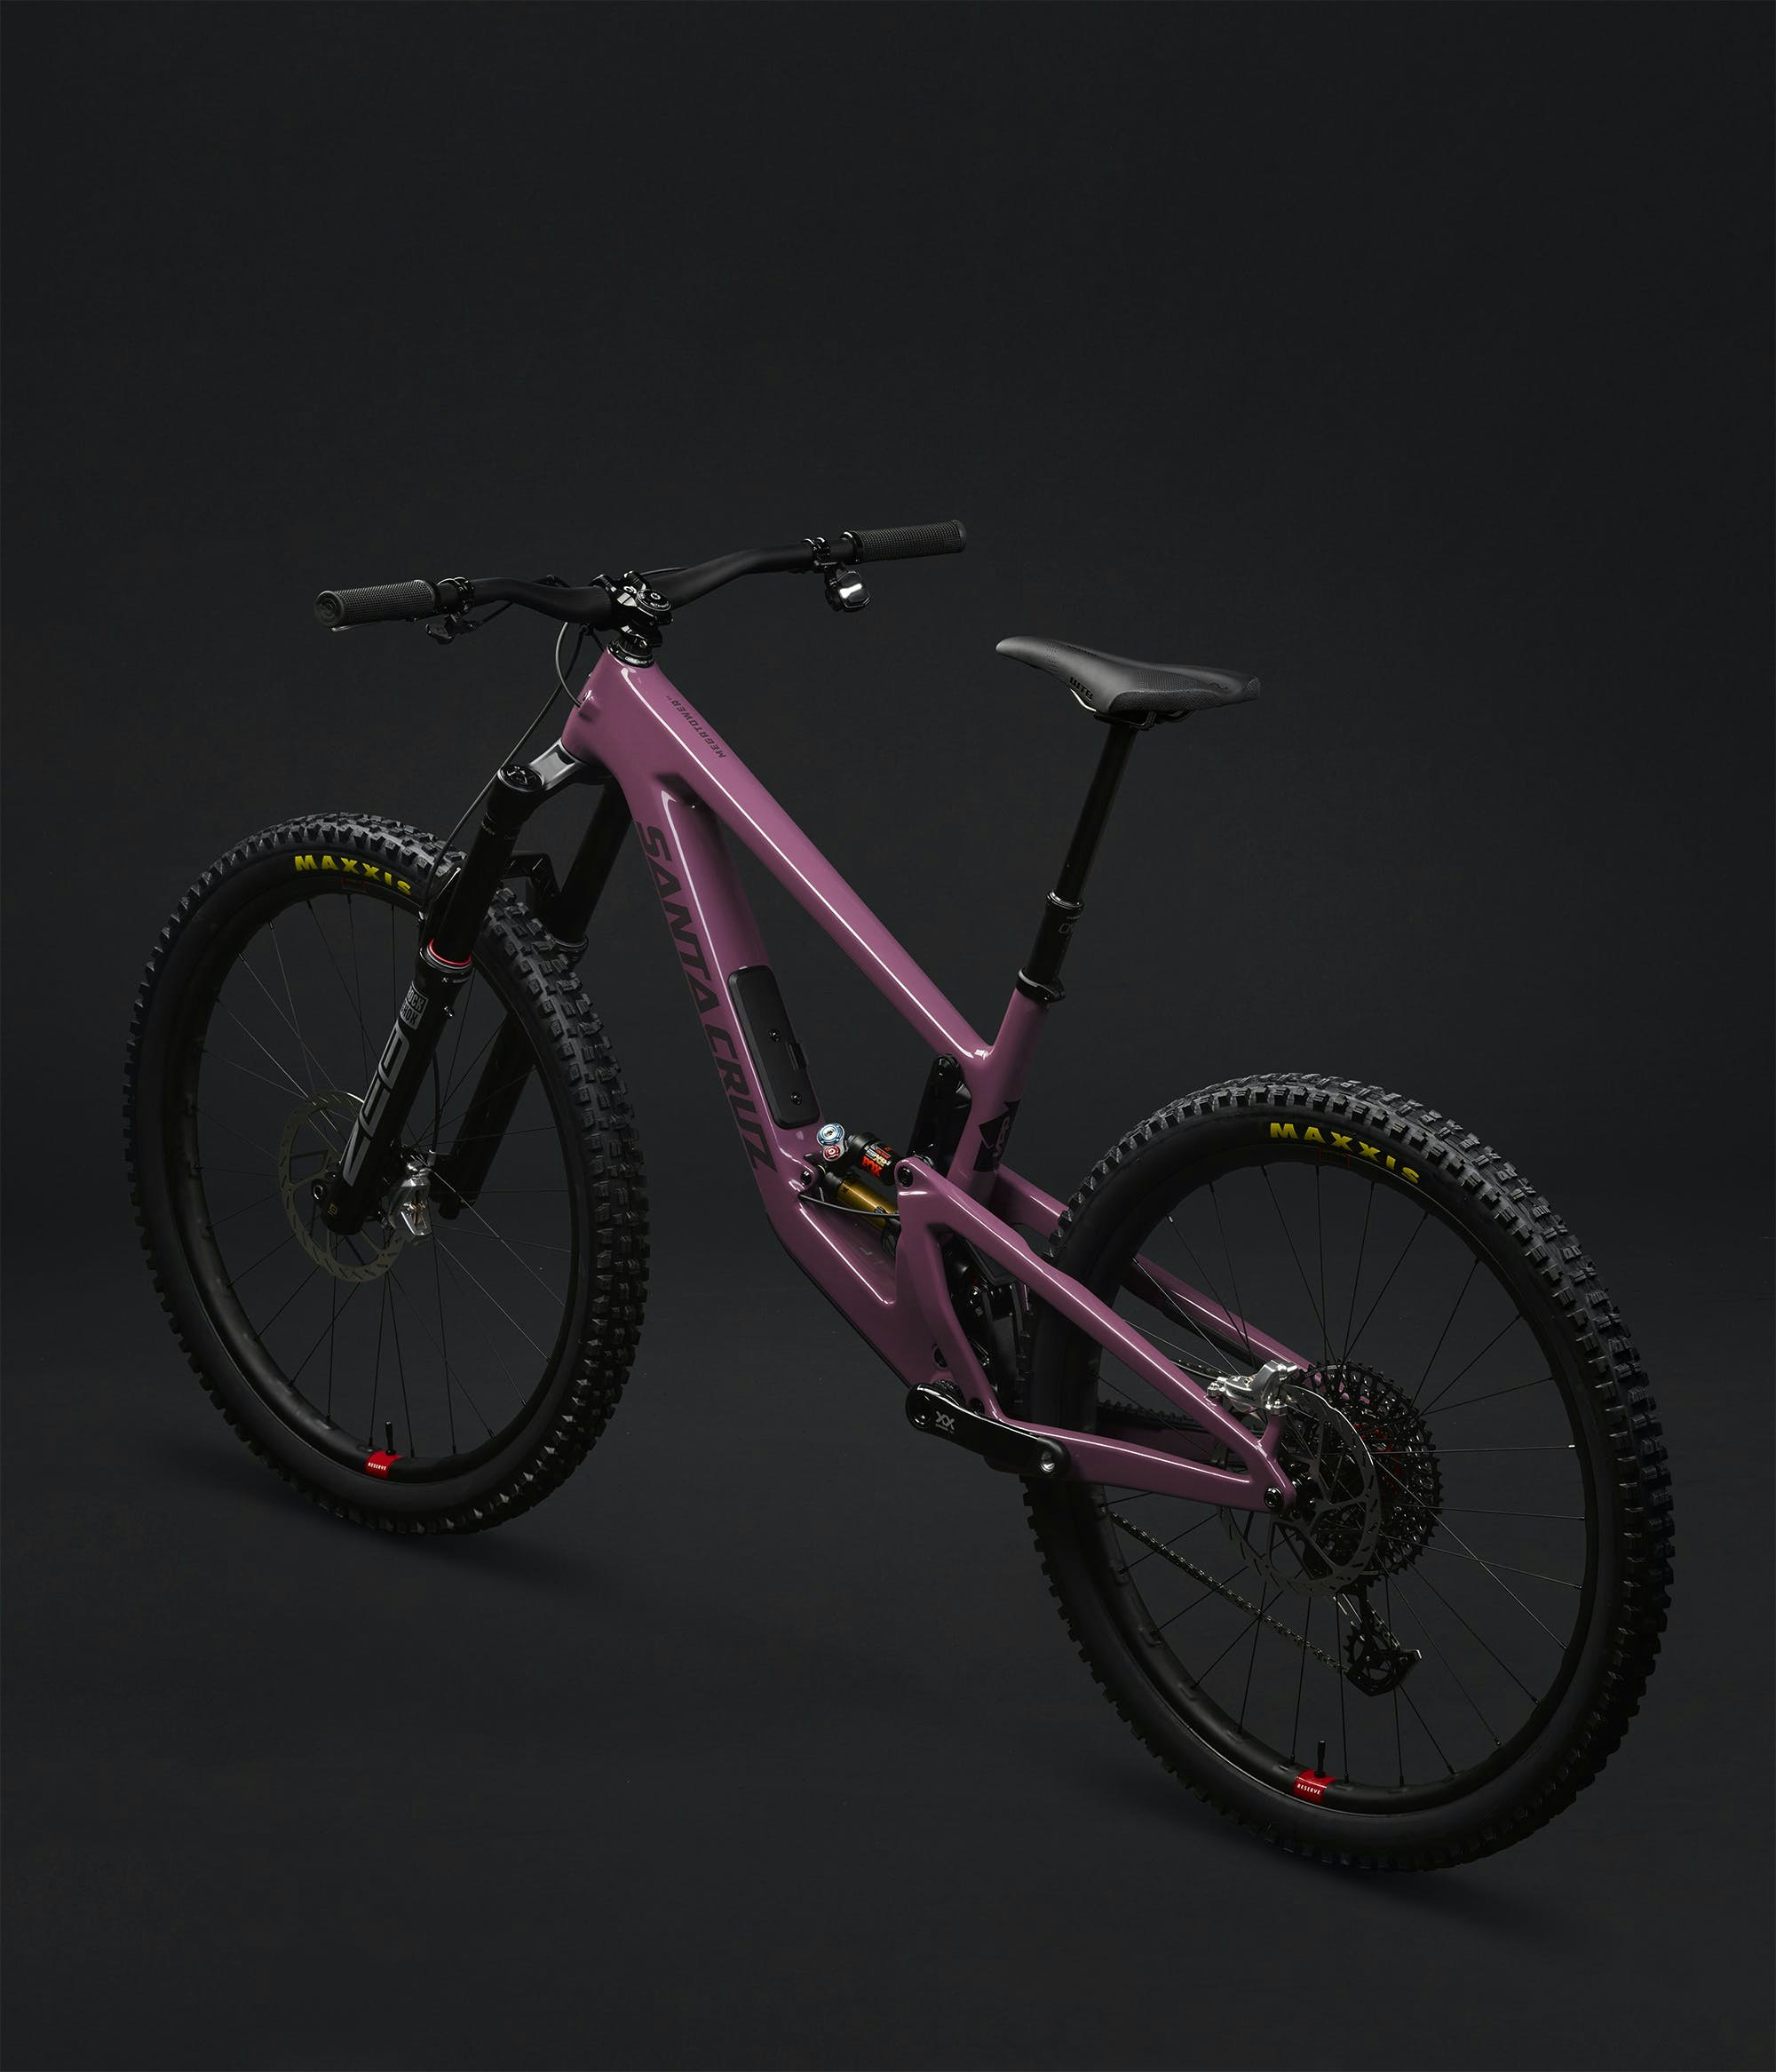

R 5.999 € EUR 34.57 lbs / 15.68 kg | S 6.899 € EUR 34.08 lbs / 15.46 kg | GX AXS
| X0 AXS
| X0 AXS RSV
| Frame
7.17 lbs / 3.25 kg |
|---|
Materiale | Materiale | Materiale | Materiale | Materiale | Materiale | ||
Escursione | Escursione | Escursione | Escursione | Escursione | Escursione | ||
Diametro ruota | Diametro ruota | Diametro ruota | Diametro ruota | Diametro ruota | Diametro ruota | ||
Ammortizzatore | Ammortizzatore | Ammortizzatore | Ammortizzatore | Ammortizzatore | Ammortizzatore | ||
Forcella | Forcella | Forcella | Forcella | Forcella | Forcella | ||
Deragliatore posteriore | Deragliatore posteriore | Deragliatore posteriore | Deragliatore posteriore | Deragliatore posteriore | Deragliatore posteriore | ||
Comando destro | Comando destro | Comando destro | Comando destro | Comando destro | Comando destro | ||
Pacco pignoni | Pacco pignoni | Pacco pignoni | Pacco pignoni | Pacco pignoni | Pacco pignoni | ||
Catena | Catena | Catena | Catena | Catena | Catena | ||
Paracatena | Paracatena | Paracatena | Paracatena | Paracatena | Paracatena | ||
Moviemento centrale | Moviemento centrale | Moviemento centrale | Moviemento centrale | Moviemento centrale | Moviemento centrale | ||
Serie sterzo | Serie sterzo | Serie sterzo | Serie sterzo | Serie sterzo | Serie sterzo | ||
Pneumatico posteriore | Pneumatico posteriore | Pneumatico posteriore | Pneumatico posteriore | Pneumatico posteriore | Pneumatico posteriore | ||
Pneumatico anteriore | Pneumatico anteriore | Pneumatico anteriore | Pneumatico anteriore | Pneumatico anteriore | Pneumatico anteriore | ||
Mozzo anteriore | Mozzo anteriore | Mozzo anteriore | Mozzo anteriore | Mozzo anteriore | Mozzo anteriore | ||
Cerchio anteriore | Cerchio anteriore | Cerchio anteriore | Cerchio anteriore | Cerchio anteriore | Cerchio anteriore | ||
Mozzo posteriore | Mozzo posteriore | Mozzo posteriore | Mozzo posteriore | Mozzo posteriore | Mozzo posteriore | ||
Cerchio posteriore | Cerchio posteriore | Cerchio posteriore | Cerchio posteriore | Cerchio posteriore | Cerchio posteriore | ||
Disco anteriore | Disco anteriore | Disco anteriore | Disco anteriore | Disco anteriore | Disco anteriore | ||
Disco posteriore | Disco posteriore | Disco posteriore | Disco posteriore | Disco posteriore | Disco posteriore | ||
Freni | Freni | Freni | Freni | Freni | Freni | ||
Guarnitura | Guarnitura | Guarnitura | Guarnitura | Guarnitura | Guarnitura | ||
Manubri | Manubri | Manubri | Manubri | Manubri | Manubri | ||
Attacco manubrio | Attacco manubrio | Attacco manubrio | Attacco manubrio | Attacco manubrio | Attacco manubrio | ||
Sella | Sella | Sella | Sella | Sella | Sella | ||
Reggisella | Reggisella | Reggisella | Reggisella | Reggisella | Reggisella | ||
Manopole | Manopole | Manopole | Manopole | Manopole | Manopole | ||
Caricabatteria | Caricabatteria | Caricabatteria | Caricabatteria | Caricabatteria | Caricabatteria |


Design Details


Design Details
1 / 3
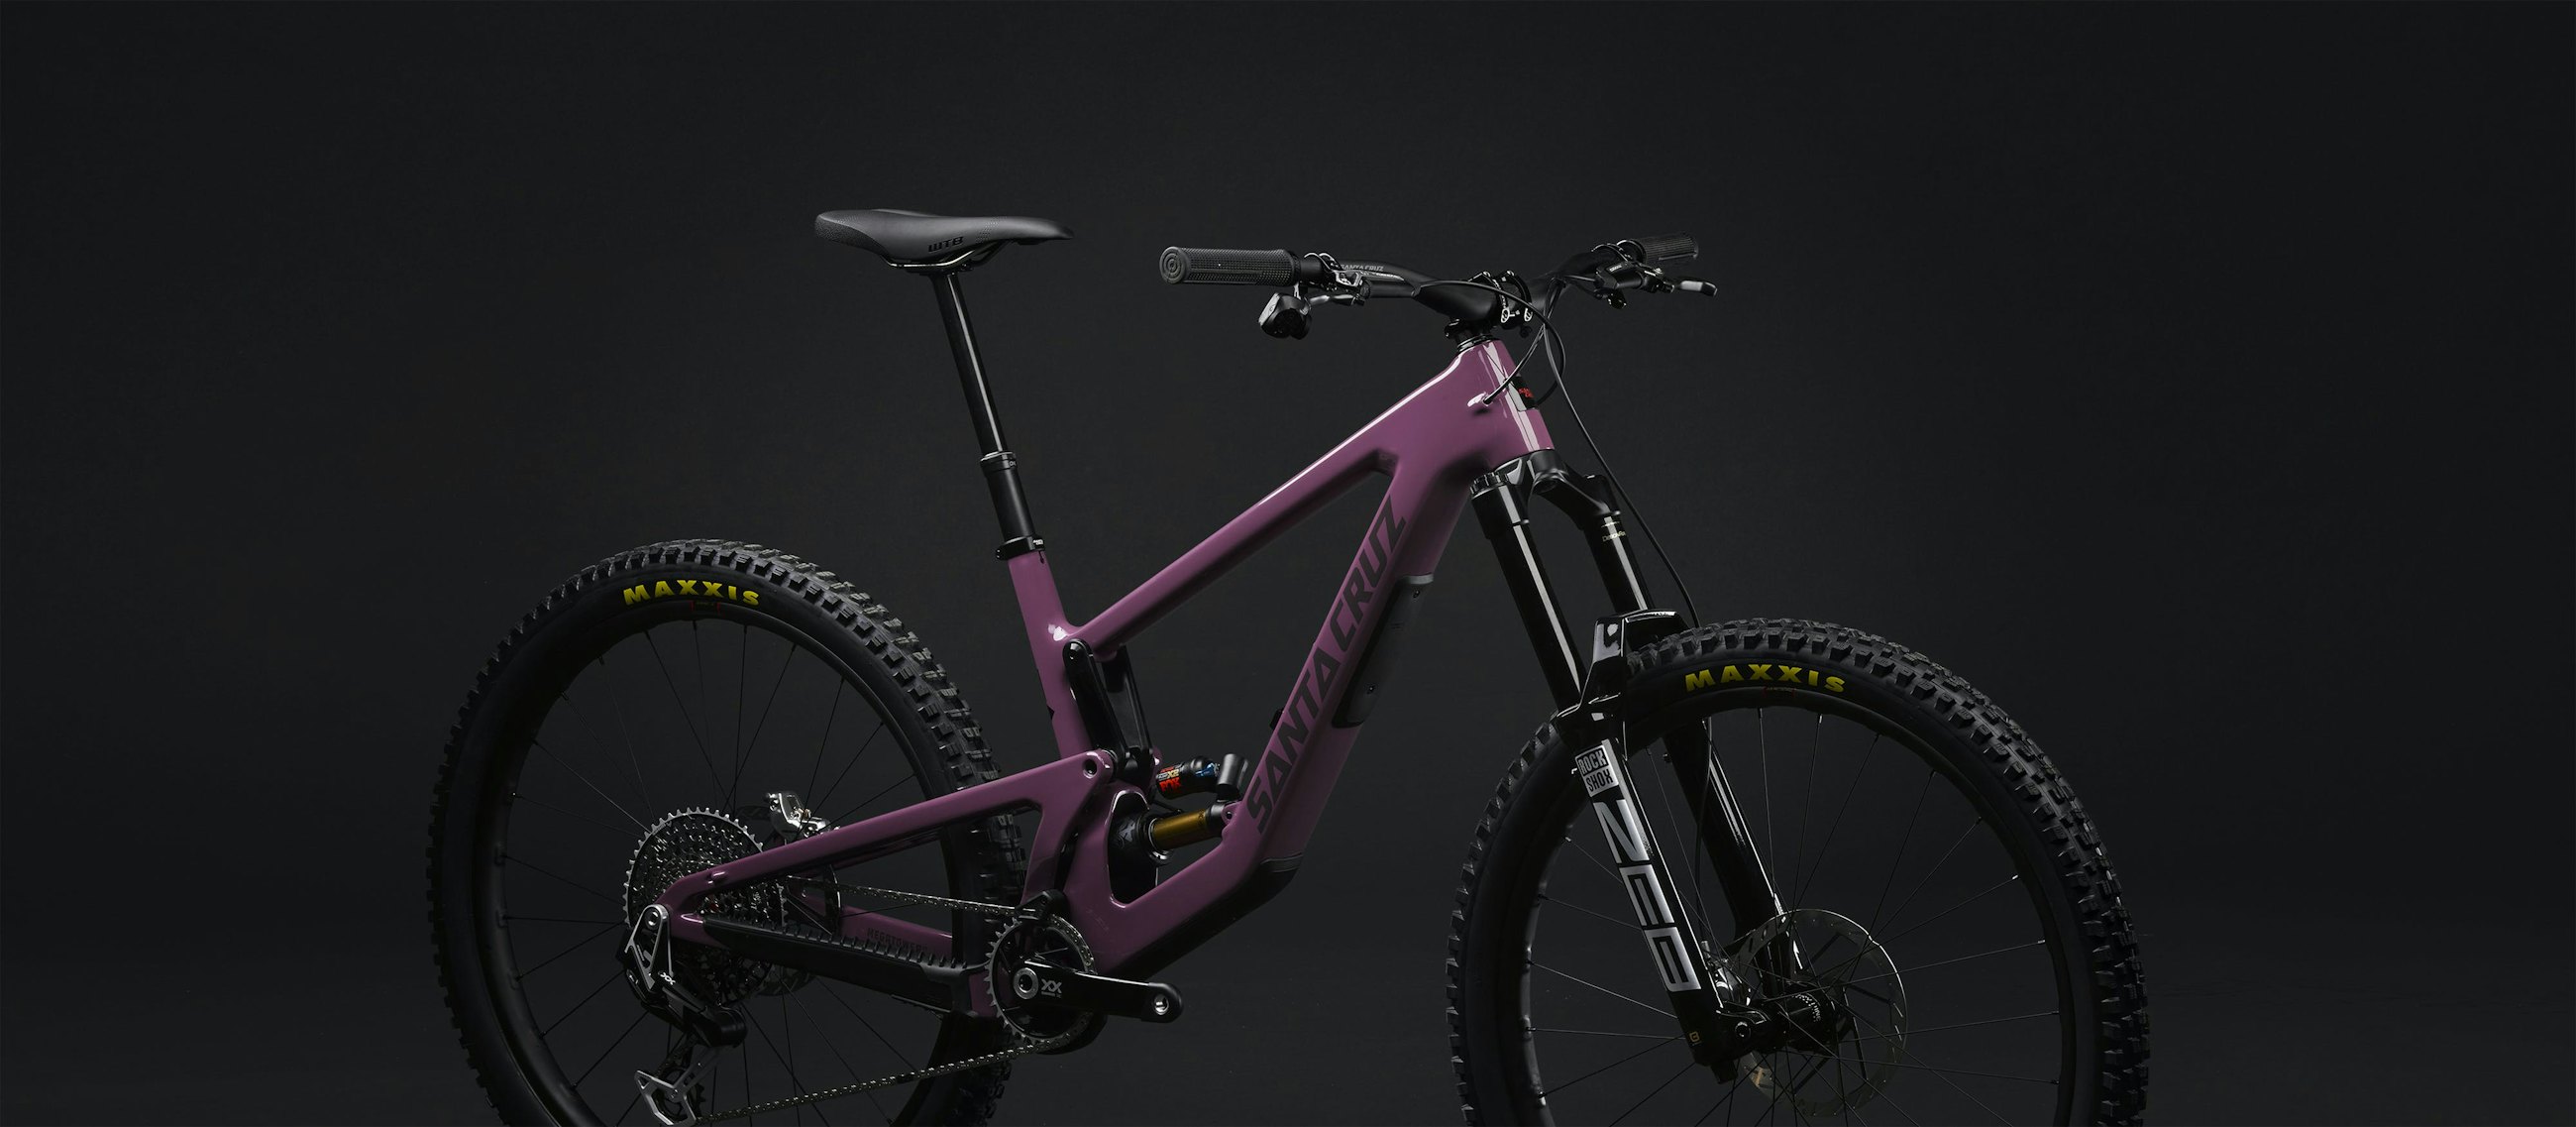
Fiducia cieca su terreni sconosciuti
Le sospensioni VPP™ possono essere ottimizzate per raggiungere l'equilibrio tra l'efficienza della pedalata e l'abilità nell'attutire gli urti. La Megatower è eccezionale nell'assorbire i colpi più forti, in modo che il biker possa affrontare con maggiore sicurezza anche i terreni più difficili. Grazie ad una straordinaria efficienza nella pedalata, anche salire sui sentieri più belli e più alti non è affatto così faticoso.
Sensibilità e trazione costante
Il basso rapporto di leva della Megatower offre una sensazione più smorzata e controllata in velocità. L'anti-squat più basso riduce l'oscillazione sui pedali fornendo un eccellente assorbimento delle asperità, offrendo un maggiore margine di errore quando si corrono rischi alla cieca sui sentieri selvaggi.
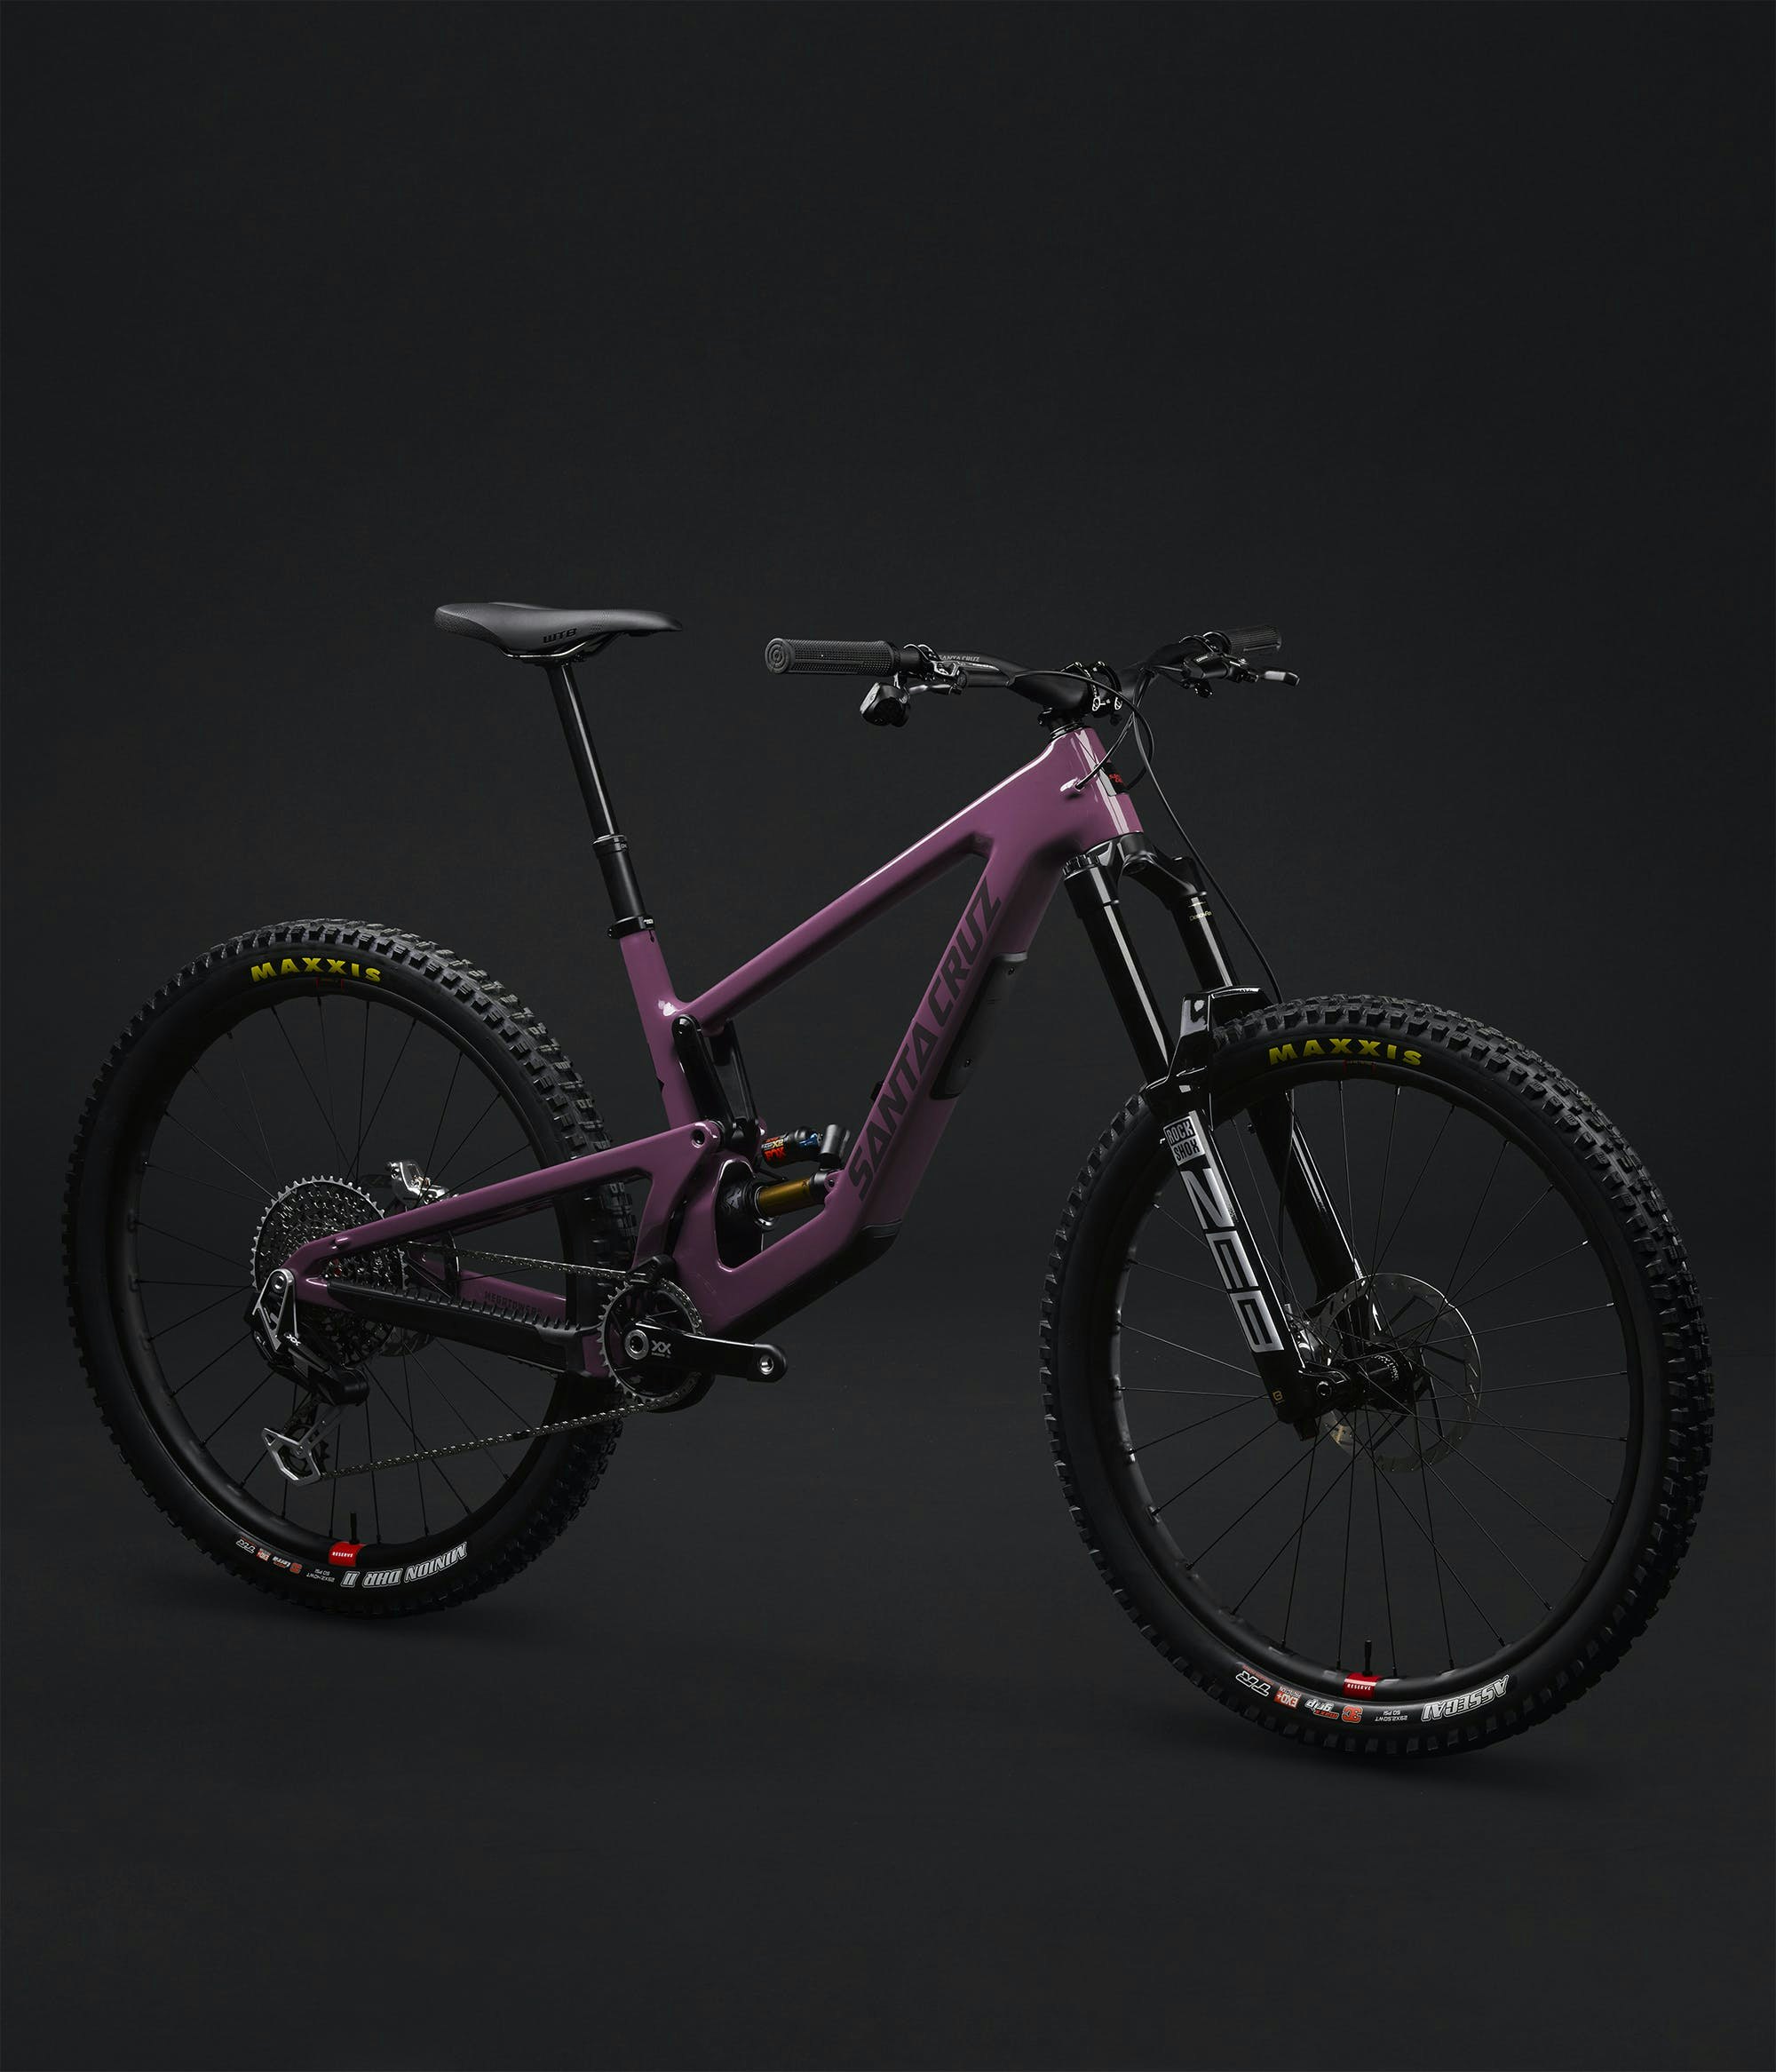
Pensato per i piloti privati
I link corti e robusti del sistema VPP™ consentono un design del telaio molto compatto e rigido che riduce le flessioni laterali. Il diametro maggiorato dei cuscinetti dei link ed i perni a cui sono accoppiati garantiscono durata estrema e maggiore resistenza (i cuscinetti hanno sempre la nostra garanzia a vita!) mentre il lower link è caratterizzato da una apertura per agevolare le operazioni di ingrassaggio rendendole facili e veloci.


"La discesa con la Megatower è divertentissima... riesce a trasformare tratti 'alla morte' in semplici percorsi adatti a tutti". - NSMB.com
BIKE Magazin
Bikelive
ENDURO Mag
NSMB.com


"La geometria lo rende migliore e garantisce il divertimento di guida su qualsiasi terreno. Questo rende la Santa non solo veloce, ma anche divertente. Intelligente: il vano portaoggetti nel tubo obliquo". - BIKE Magazin
BIKE Magazin
Bikelive
ENDURO Mag
NSMB.com


"La nuova MegaTower è una bici efficiente, fatta per andare a tutta velocità. Con un telaio in grado di sopportare gli enormi impatti di una bici da discesa, ama la velocità ed è una delle bici più veloci che abbiamo testato." - Bikelive
BIKE Magazin
Bikelive
ENDURO Mag
NSMB.com


"Quando la gravità prende il sopravvento, la Megatower vi mette a vostro agio, implementando gli input dello sterzo in modo preciso e prevedibile con la sua maneggevolezza intuitiva." - ENDURO Mag
BIKE Magazin
Bikelive
ENDURO Mag
NSMB.com
"La discesa con la Megatower è divertentissima... riesce a trasformare tratti 'alla morte' in semplici percorsi adatti a tutti". - NSMB.com
BIKE Magazin
Bikelive
ENDURO Mag
NSMB.com
"La geometria lo rende migliore e garantisce il divertimento di guida su qualsiasi terreno. Questo rende la Santa non solo veloce, ma anche divertente. Intelligente: il vano portaoggetti nel tubo obliquo". - BIKE Magazin
BIKE Magazin
Bikelive
ENDURO Mag
NSMB.com


Il Santa Cruz Stone King Touring Club - il percorso MTB per eccellenza
Il Santa Cruz Stone King Rally è una gara a tappe di enduro in mountain bike di sei giorni. Segue un itinerario originale attraverso le Alpi sud-occidentali fino alla costa mediterranea. A parte le gare, il percorso della gara si presta anche a essere goduto al di fuori di un contesto agonistico. Il Touring Club Stone King permette ora a chiunque di godere di questo straordinario percorso di MTB. Il Touring Club è una struttura di mappe, informazioni e guide per aiutare tutti gli appassionati ed esperti di mountain bike a vivere la propria avventura lungo il percorso.


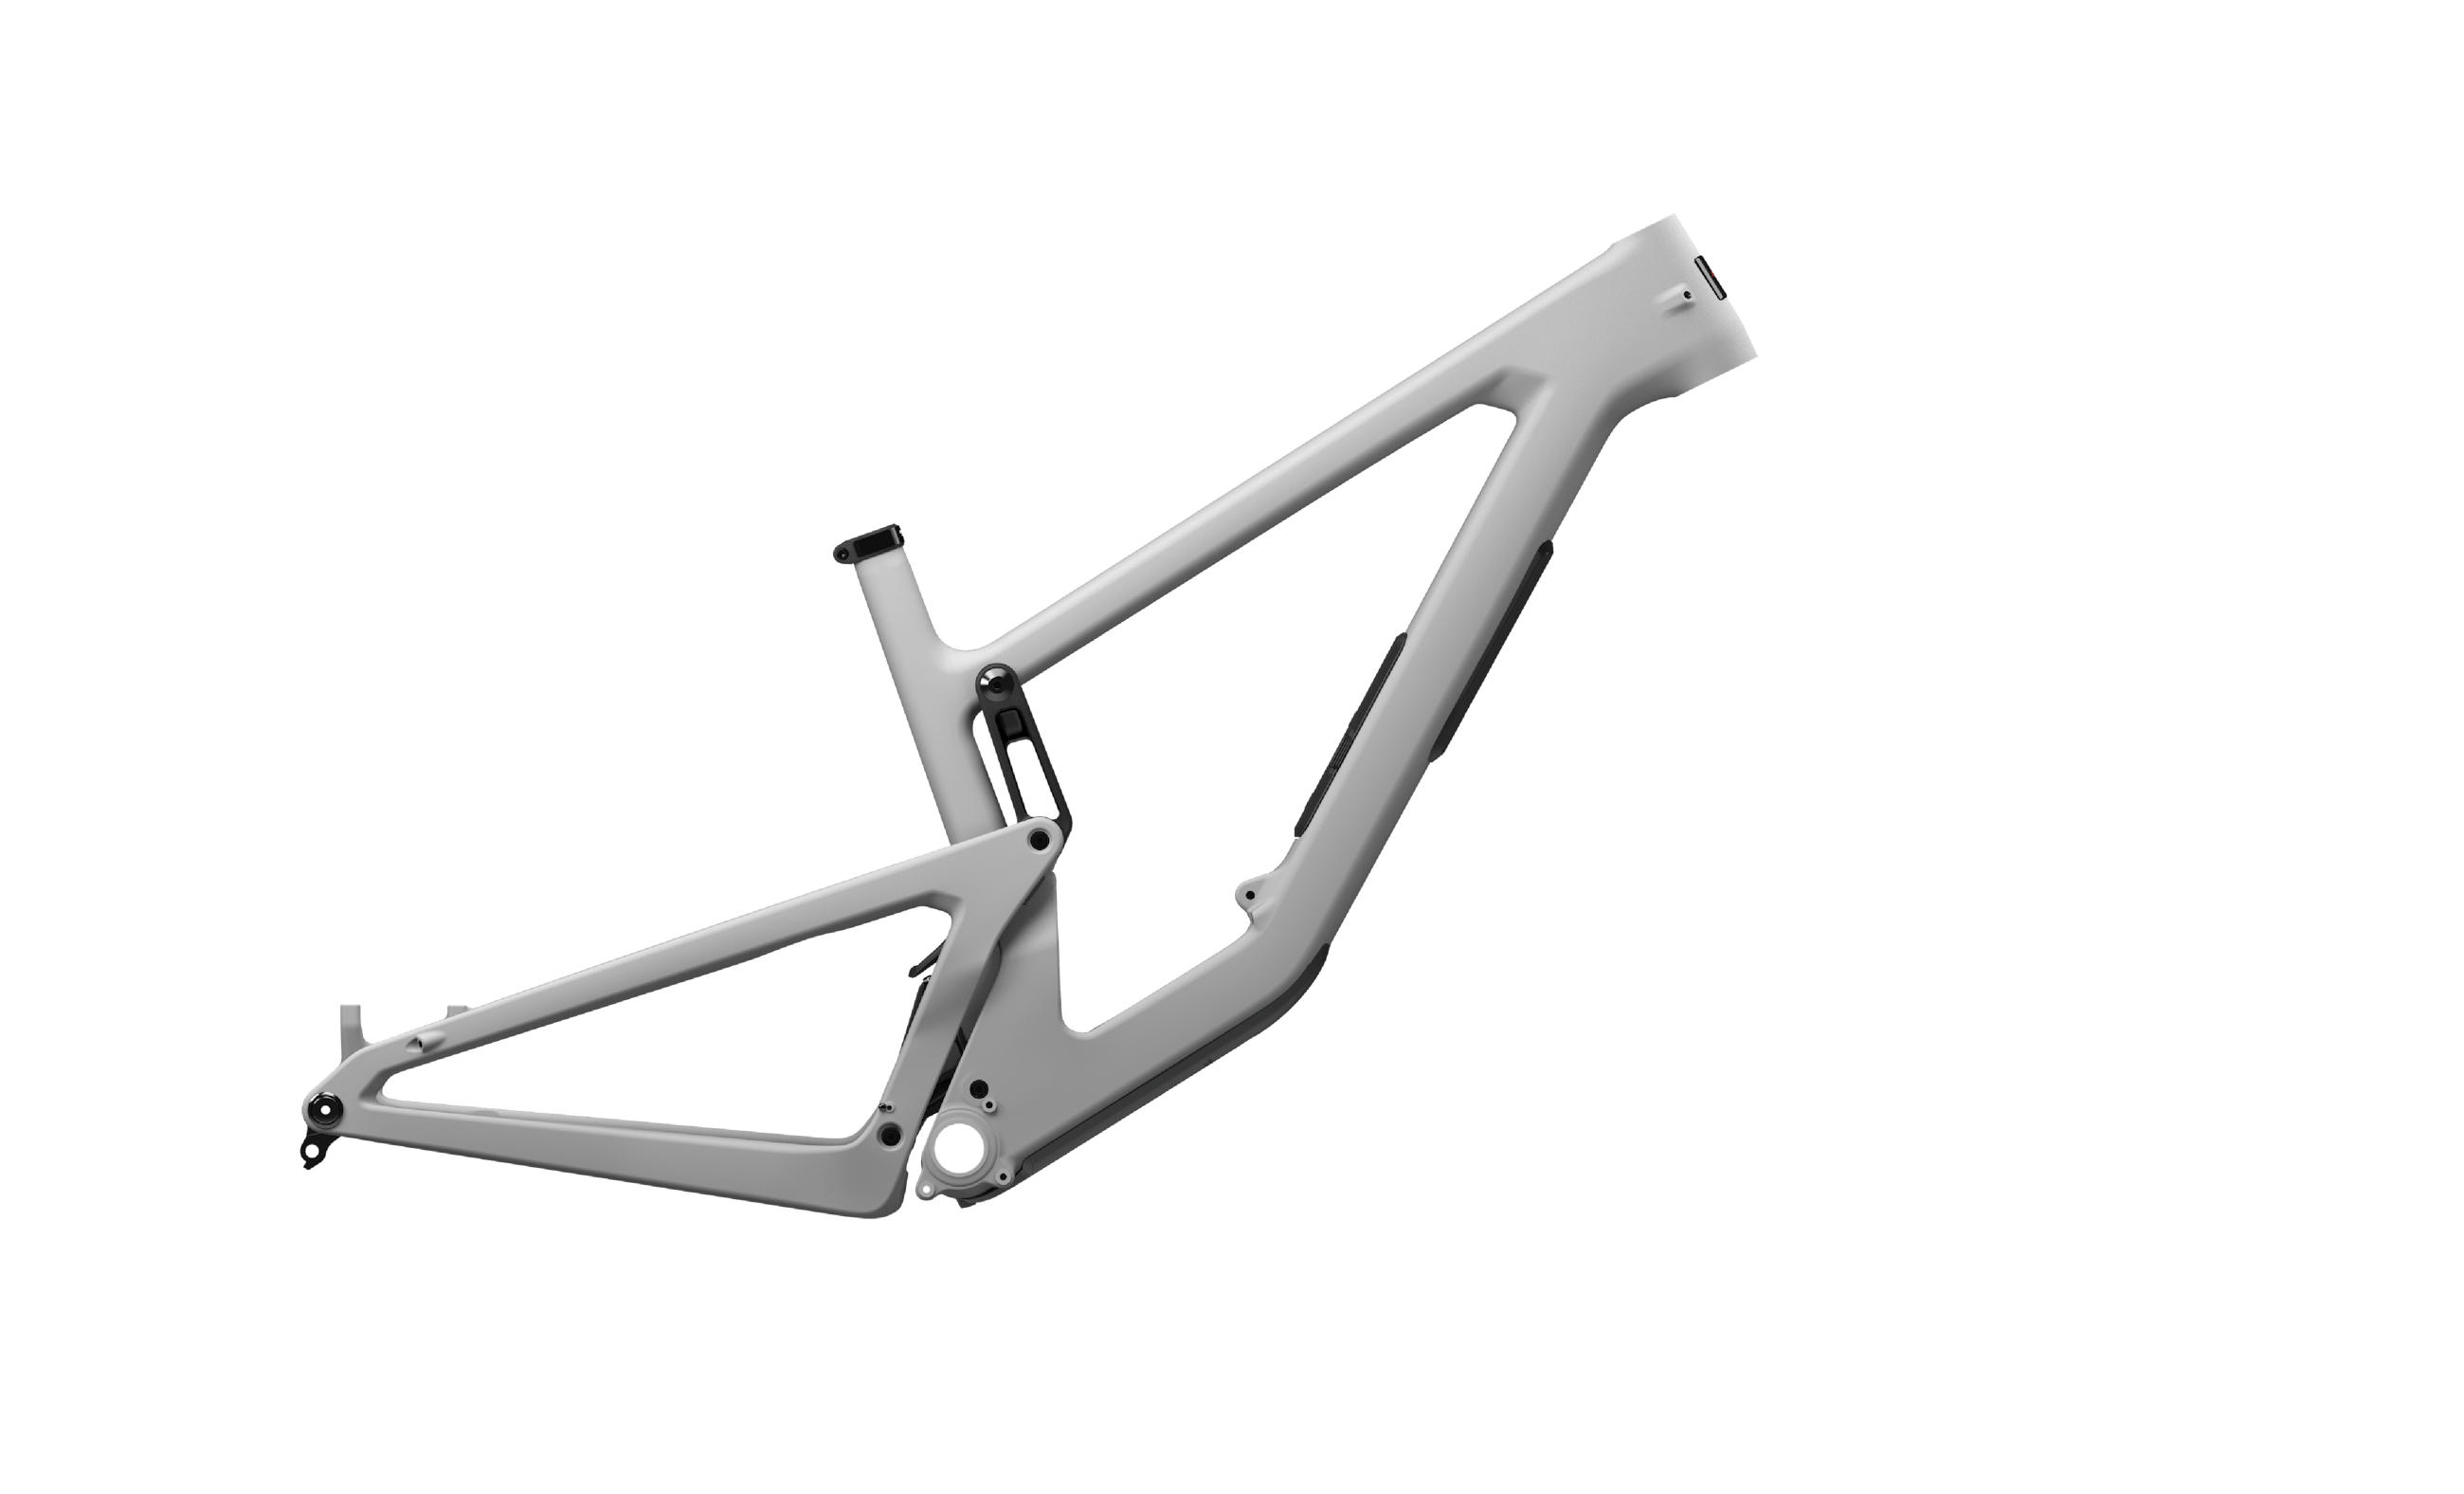
Megatower Frame Specifications
| Suspension System | VPP |
| Front Derailleur | No compatibility |
| Headset/Headtube | Integrated (IS41/52) |
| Seat Post | 31.6mm |
| Seat Clamp | 36.4mm |
| Eye to Eye length | 230mm |
| Stroke | 62.5mm |
| BB Shell | 73mm Threaded |
| Max Tire Size | 2.5" |
| Max Chainring Size | 36t |
| Water Bottle Mounts | 1 |
| Shock Mounting Bushing Front | 30x8 |
| Shock Mounting Bushing Rear | 30x8 |
| Fork Offset | 44mm |
| Brake Mount | 200mm PM |
Suspension Setup
Take a look at detailed sag, high/low rebound, and high/low compression recommendations for shocks and forks in each build.
Geometry
All units are in millimeters or degrees.
| S | M | L | XL | XXL | |
|---|---|---|---|---|---|
| Reach | hi/lo | 430/427 | 455/452 | 475/472 | 495/492 | 520/517 |
| Stack | hi/lo | 616/618 | 625/627 | 638/640 | 656/658 | 670/672 |
| Head Tube Angle | hi/lo | 63.8°/63.5° | 63.8°/63.5° | 63.8°/63.5° | 63.8°/63.5° | 63.8°/63.5° |
| Seat Tube Length | hi/lo | 380 | 405 | 430 | 460 | 500 |
| Front Center | hi/lo | 770 | 799 | 826 | 855 | 886 |
| BB Height | hi/lo | 346/342.5 | 346/342.5 | 346/342.5 | 346/342.5 | 346/342.5 |
| BB Drop | hi/lo | 26.5/30 | 26.5/30 | 26.5/30 | 26.5/30 | 26.5/30 |
| Wheelbase | hi/lo | 1206 | 1236/1237 | 1266 | 1298 | 1333/1334 |
| Rear Center | hi/lo | 436/437 | 437/438 | 440/441 | 443/444 | 447/448 |
| Head Tube Length | hi/lo | 90 | 100 | 115 | 135 | 150 |
| Top Tube Length | hi/lo | 570 | 594/595 | 613 | 637/638 | 666/667 |
| Seat Tube Angle | hi/lo | 77.24°/77.0° | 77.42°/77.2° | 77.8°/77.5° | 77.8°/77.5° | 77.8°/77.5° |
| Standover Height | hi/lo | 709/705 | 716/712 | 723/718 | 722/717 | 724/720 |
FAQ's
Exploded Diagrams
If you're looking for more information about your bike check our the Santa Cruz Bicycles Owner's Manual.
Click Here to Download